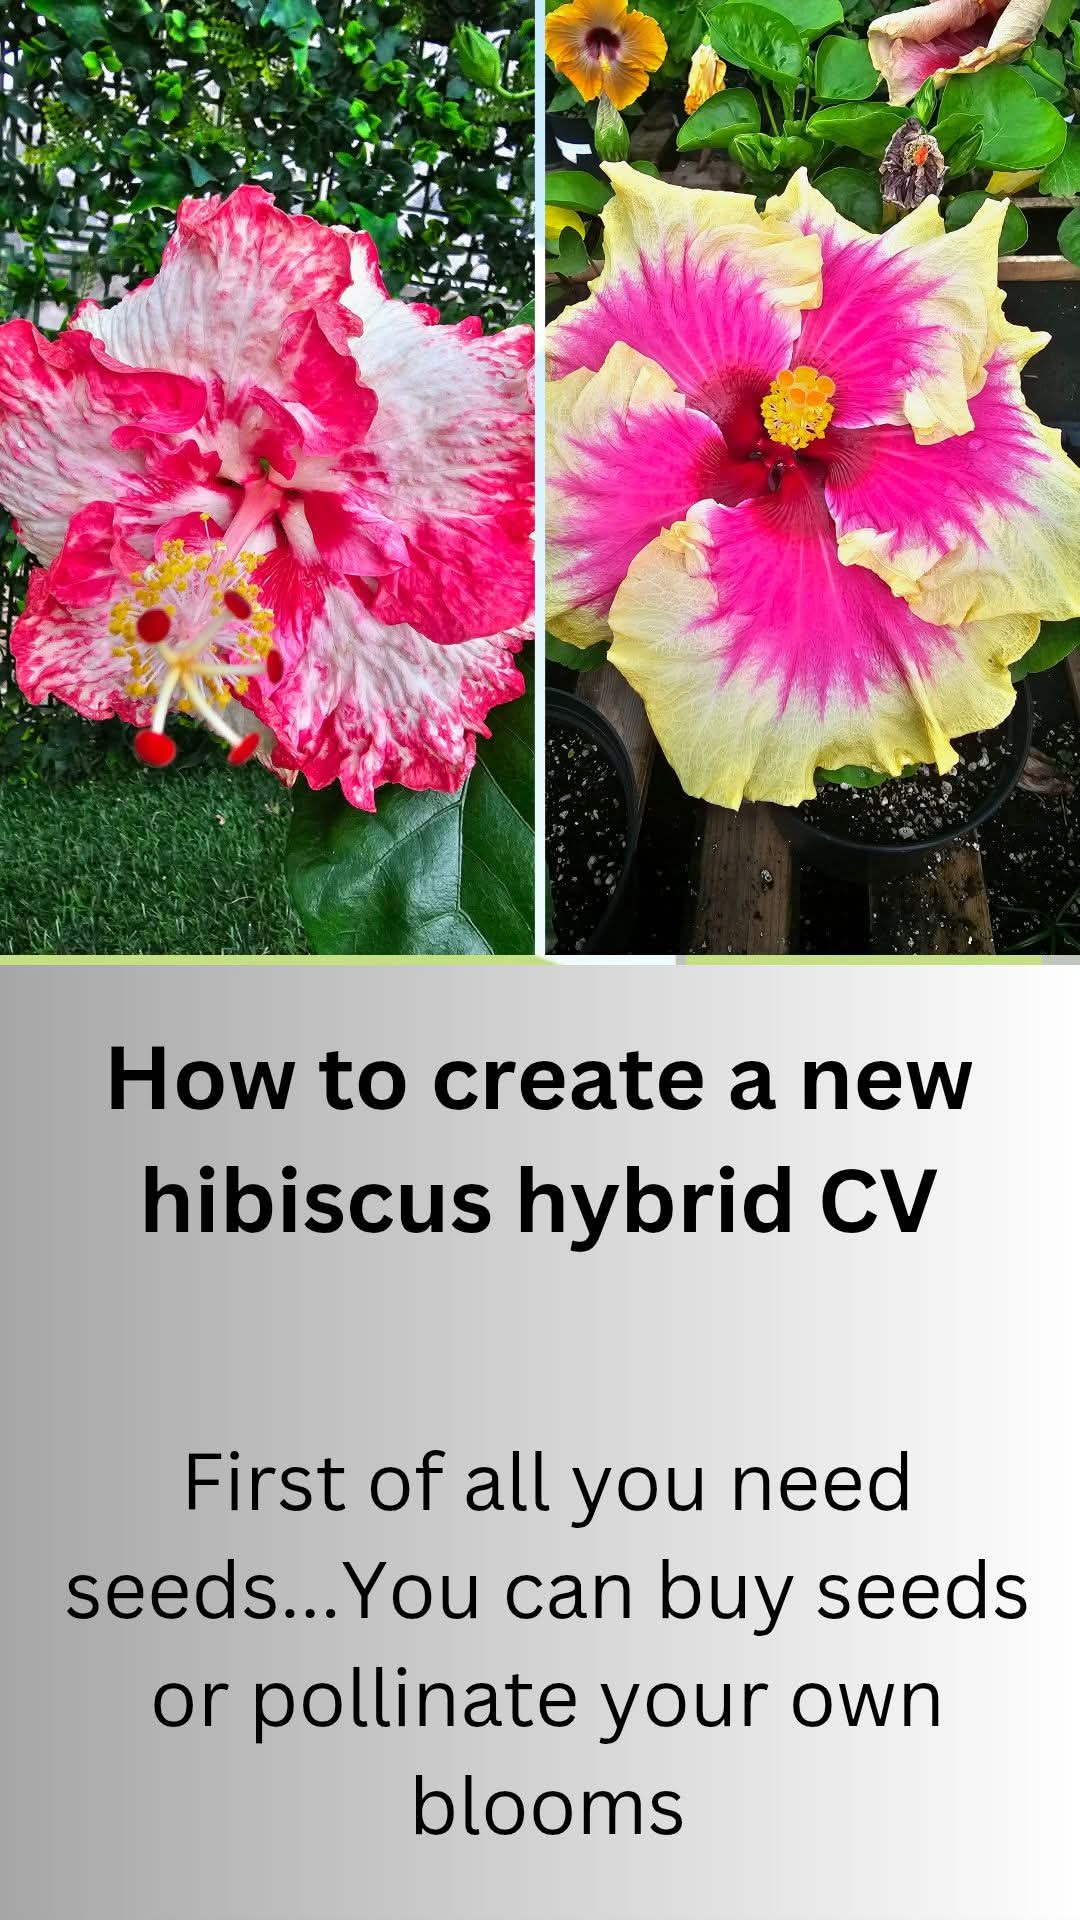
Growing your own new hibiscus hybrid from seed is a little adventure: every seedling is unique, and maybe the next unforgettable bloom is yours. Here we show you step by step how we germinate our hand-pollinated hibiscus seeds at our nursery in Madeira.
🌺 How a new hybrid starts First of all you need seeds. You can buy seeds from us or pollinate your own blooms.
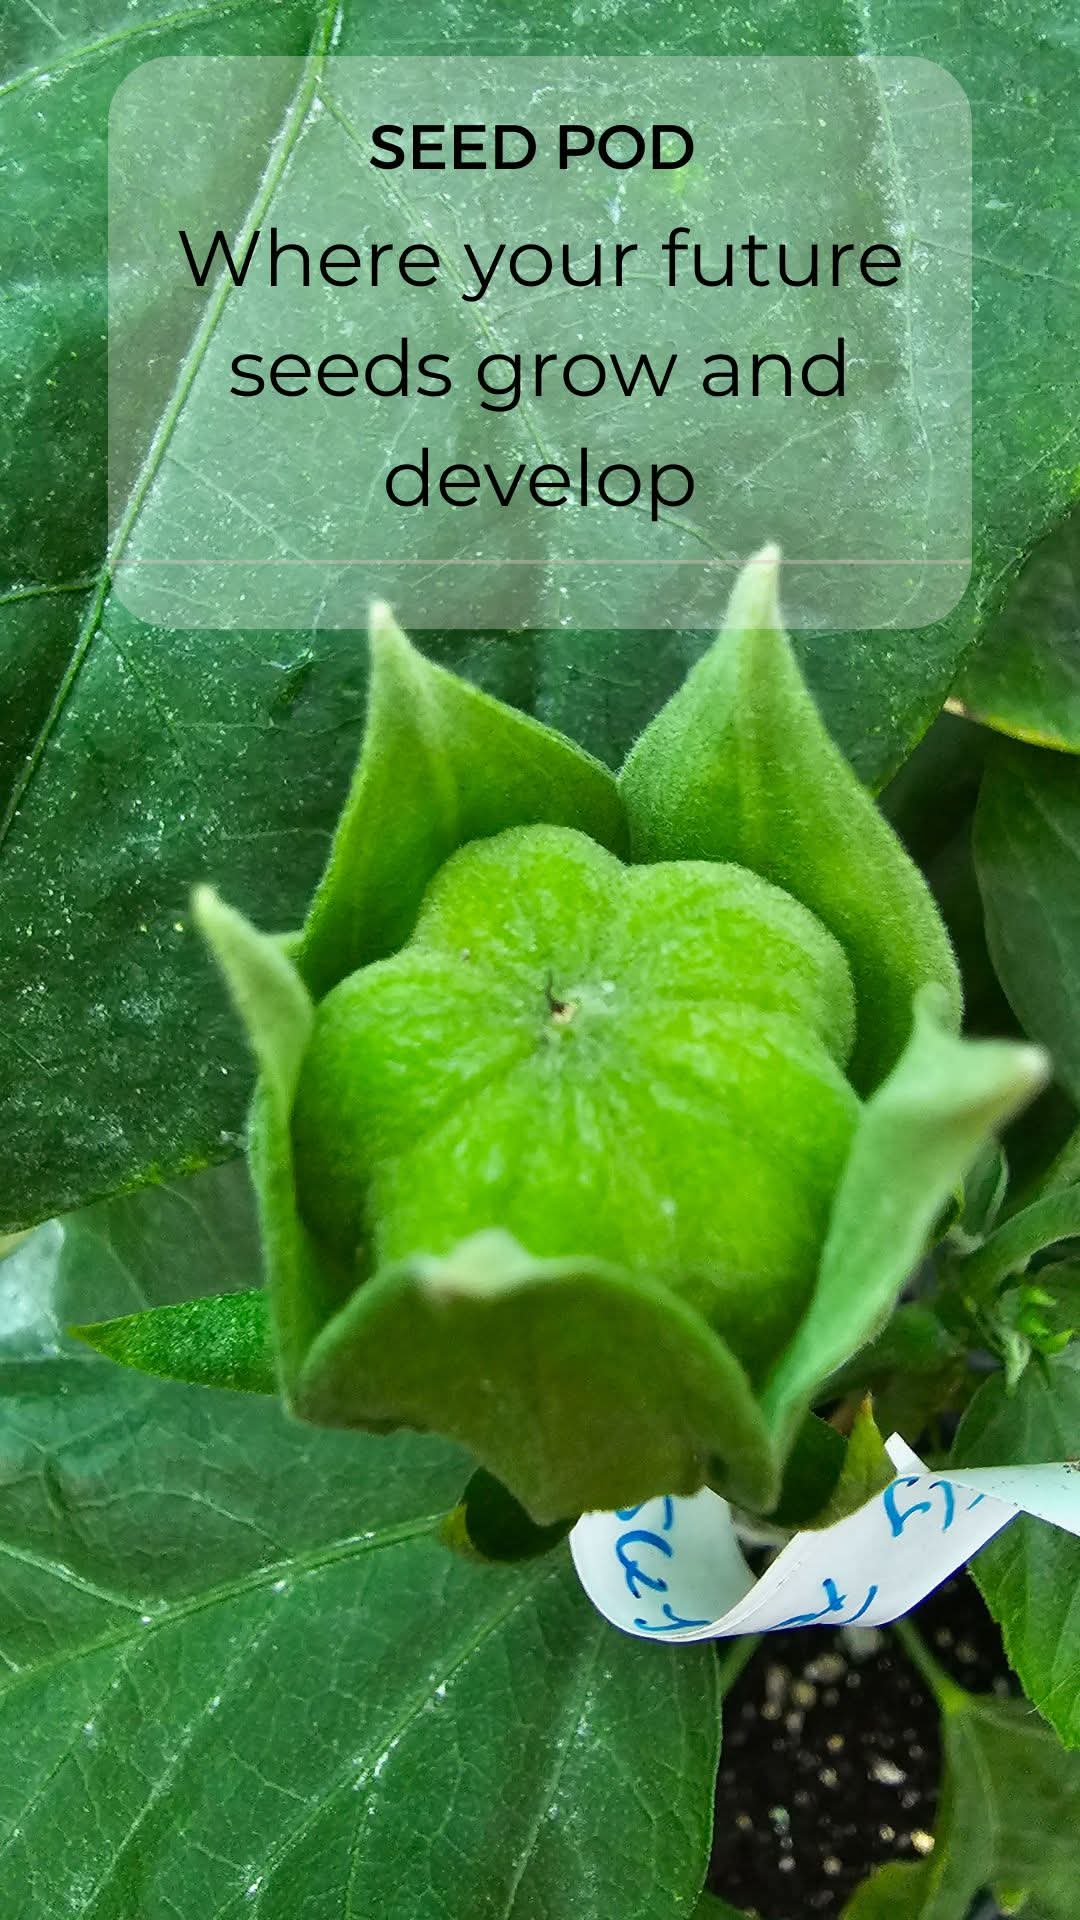
🟢 The seed pod This is the seed pod — the place where your future seeds grow and develop.
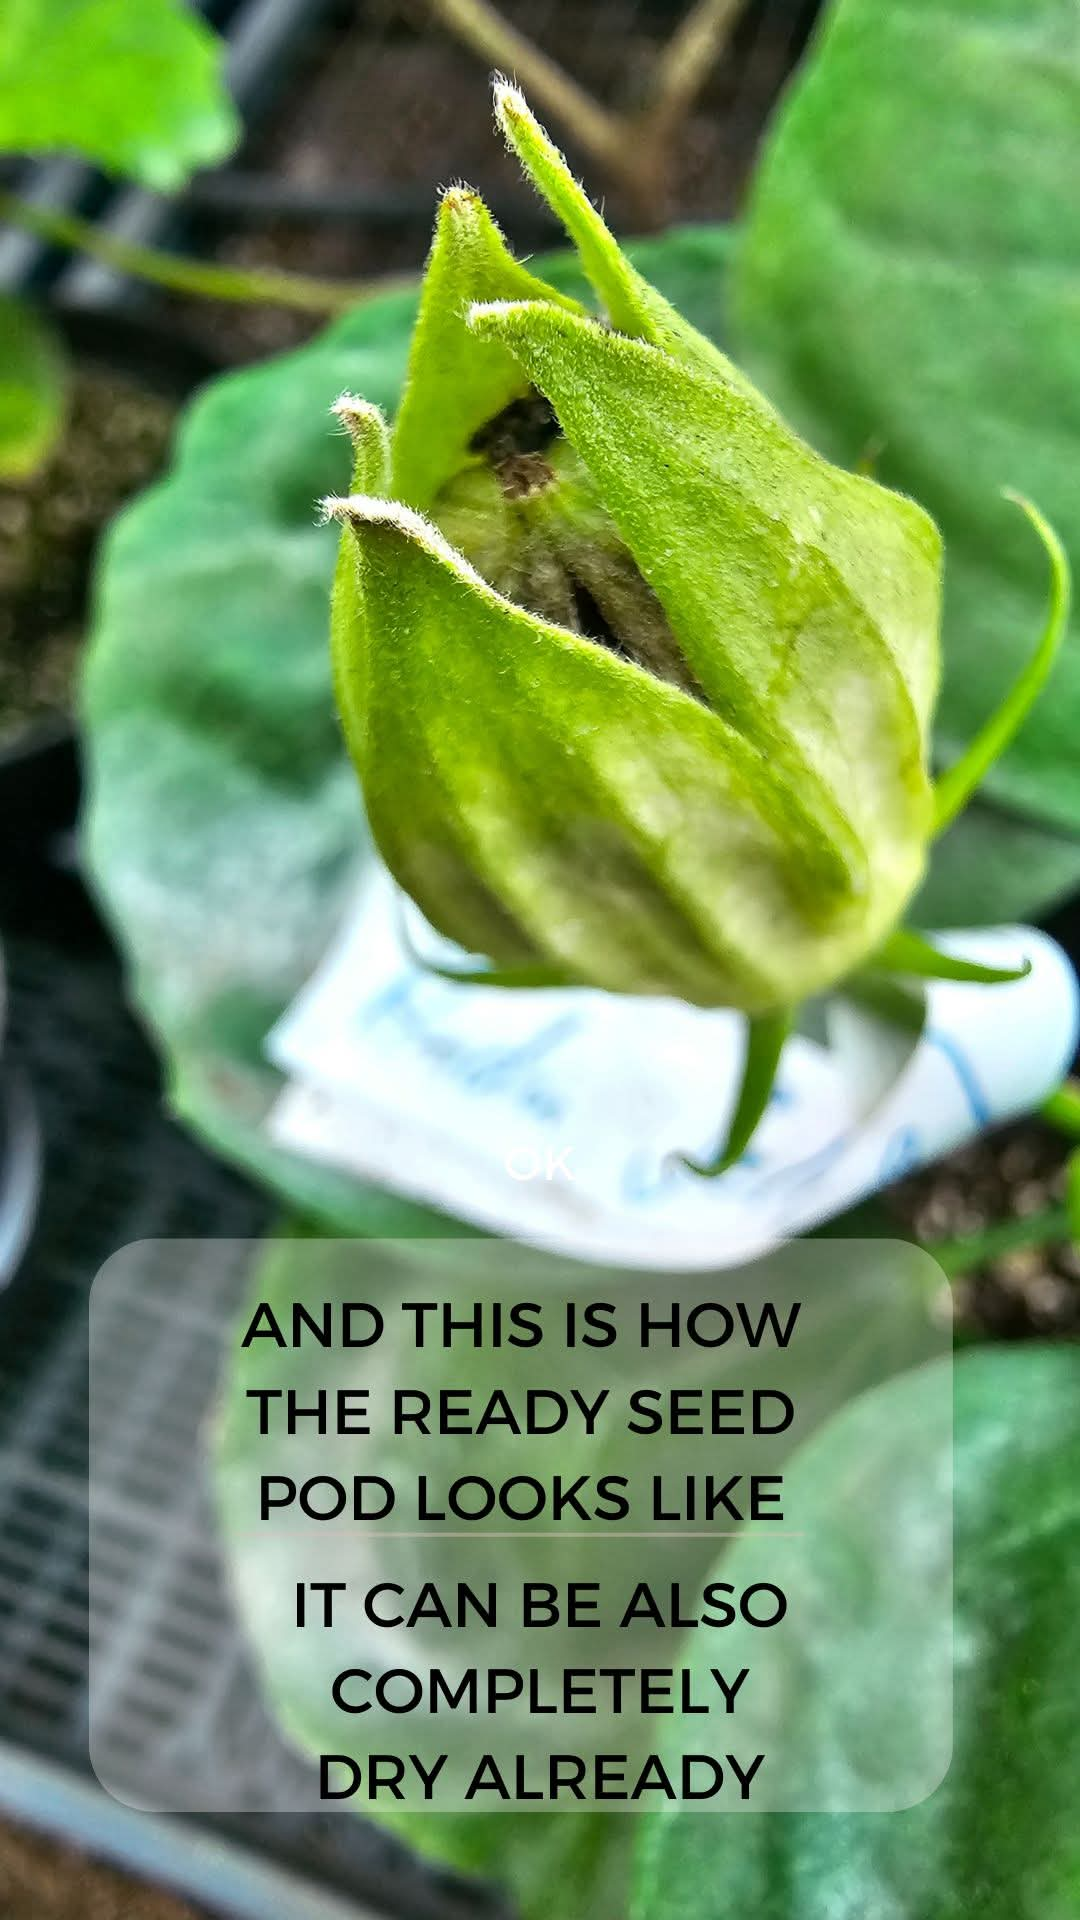
🟤 The ripe seed pod This is how a ripe seed pod looks. It can also already be completely dry.
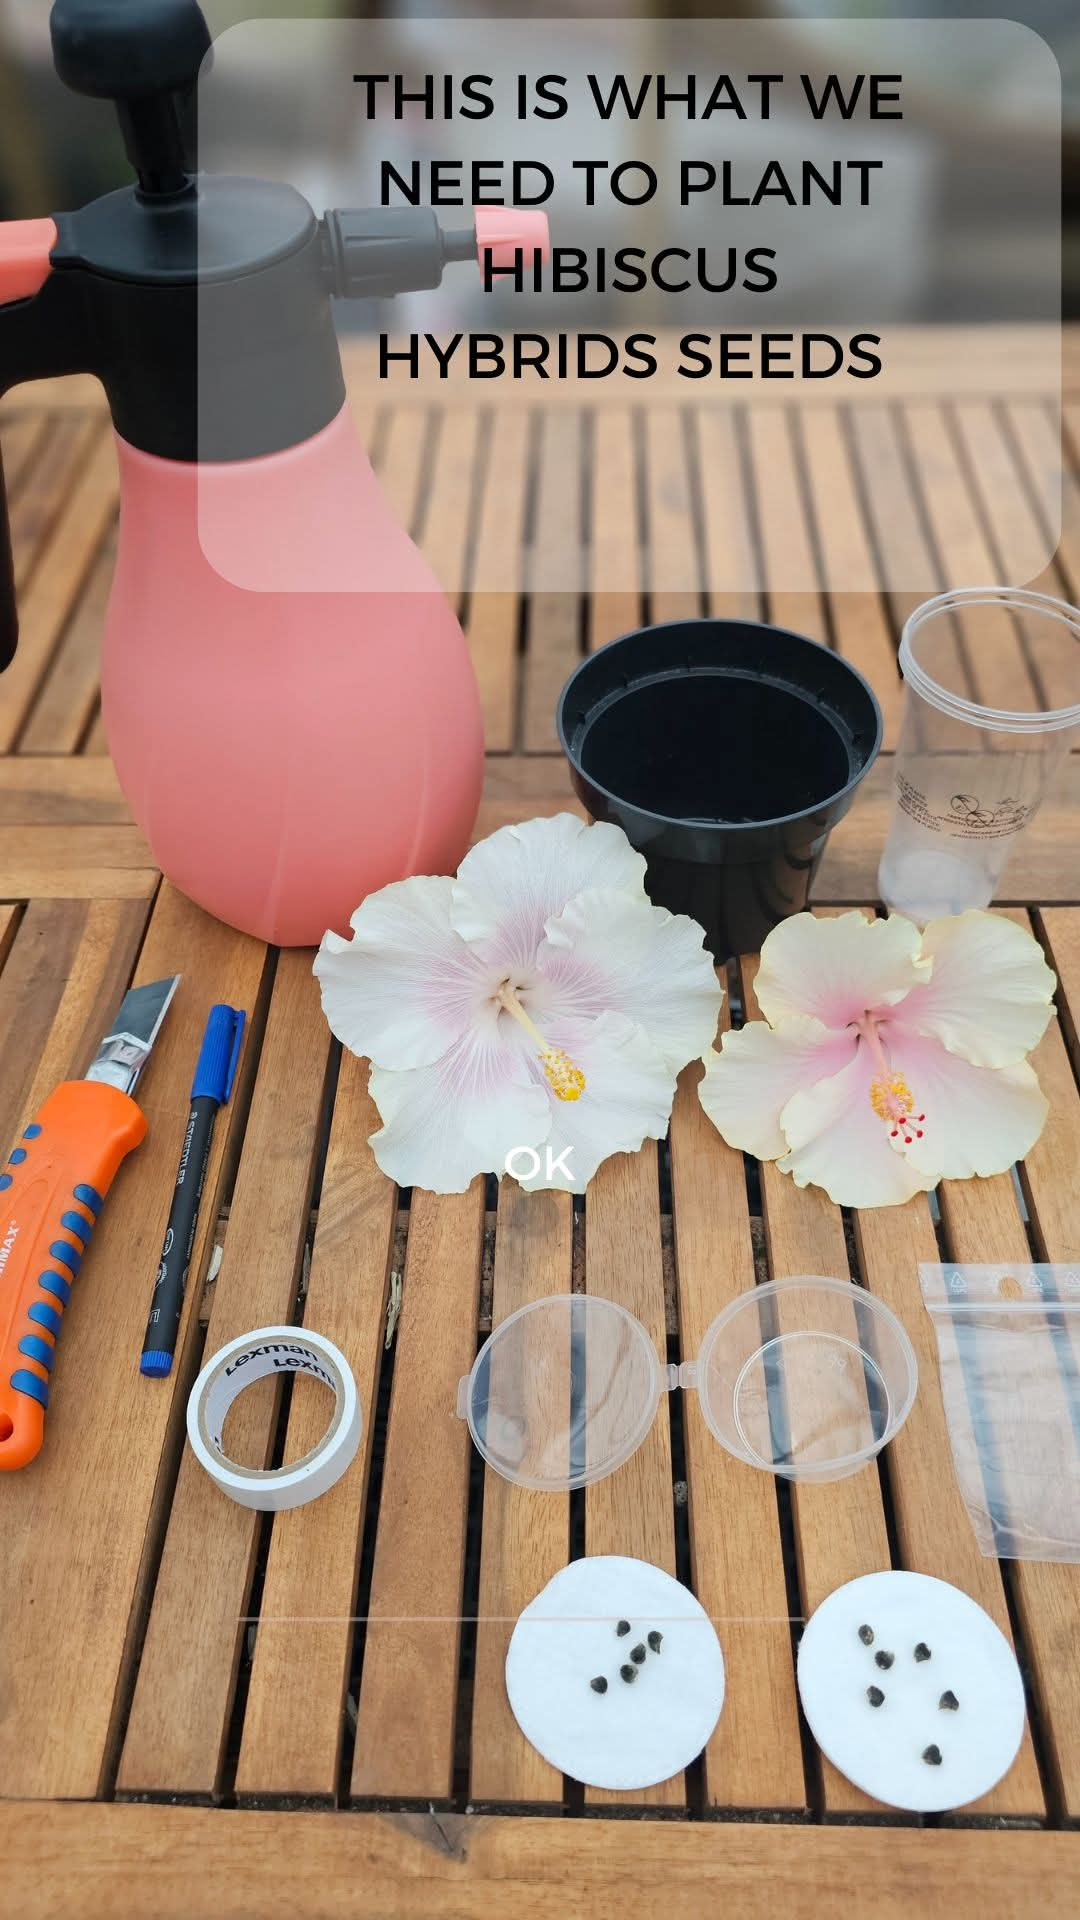
🧰 What you need This is everything we use to plant hibiscus hybrid seeds.
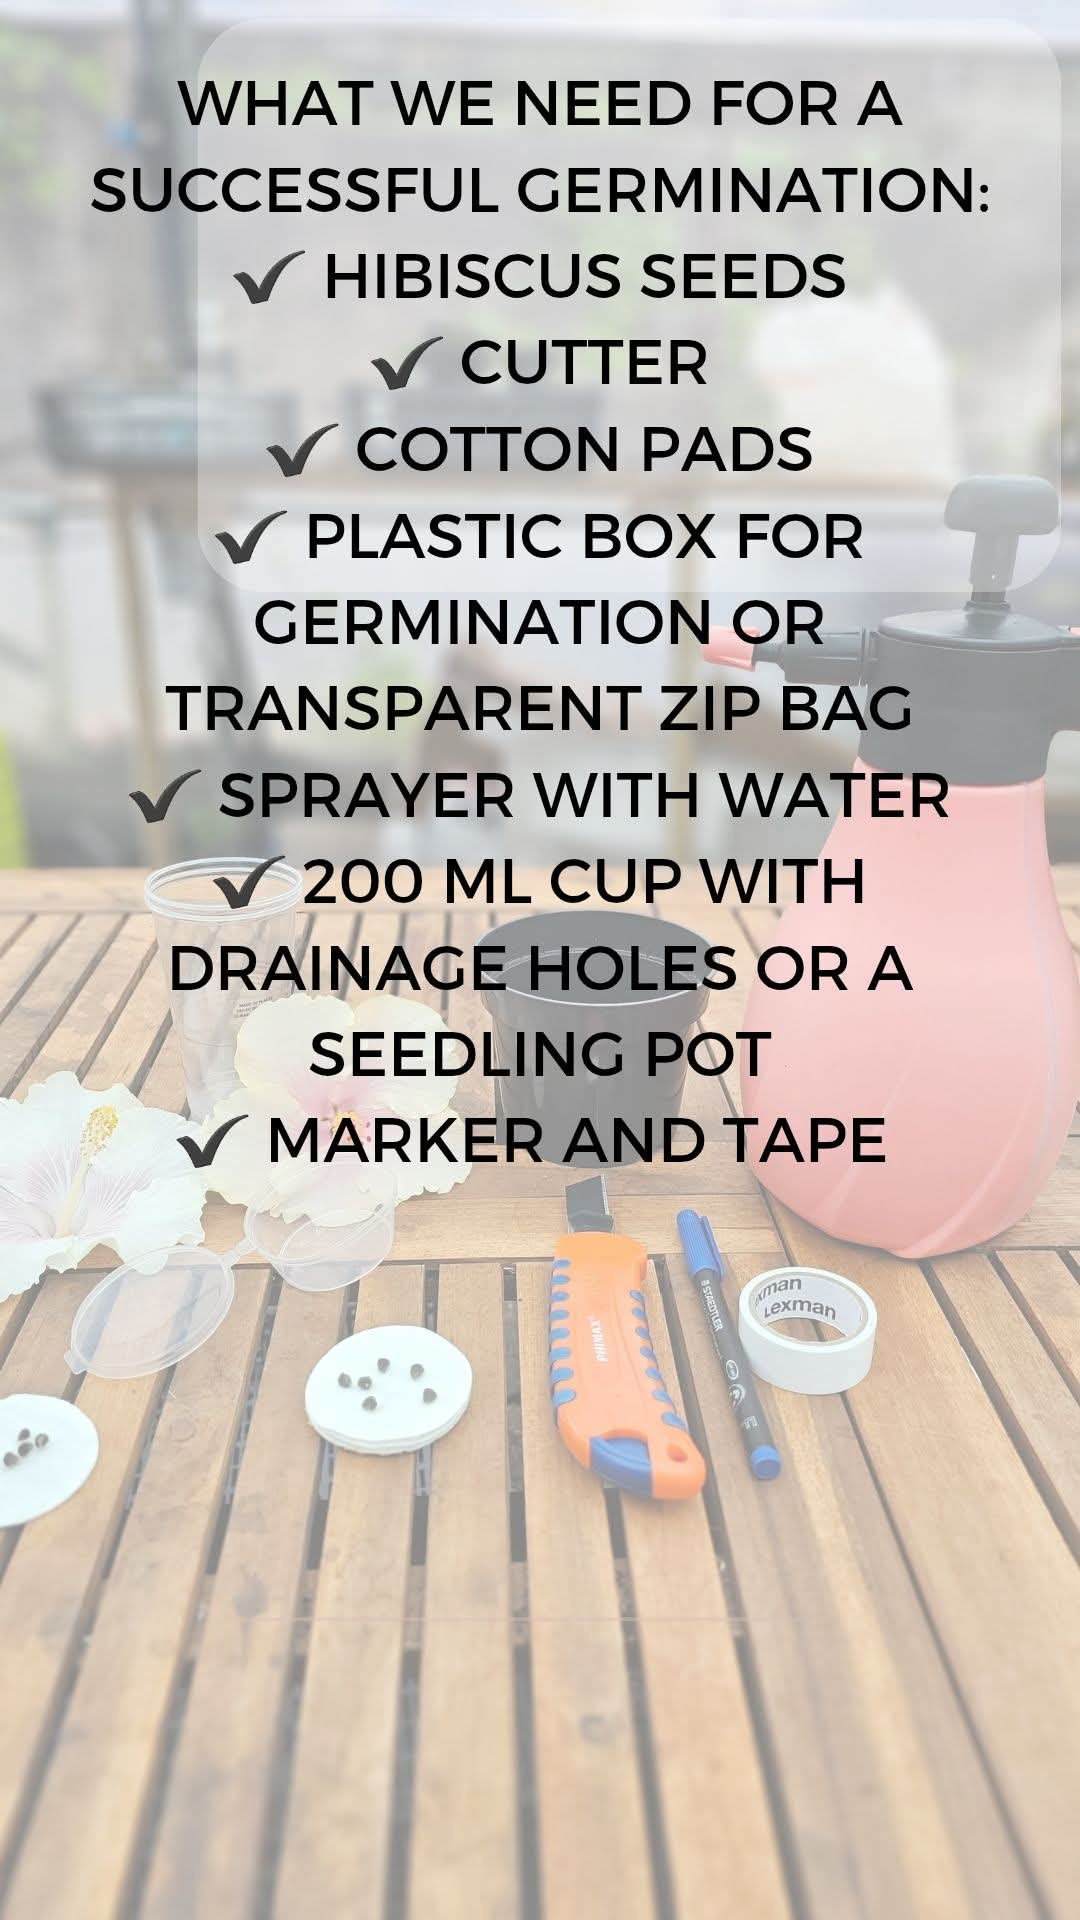
- Hibiscus seeds
- A cutter or small sharp knife
- Cotton pads
- A plastic germination box or a transparent zip bag
- A sprayer with water
- A 200 ml cup with drainage holes or a seedling pot
- A marker and tape
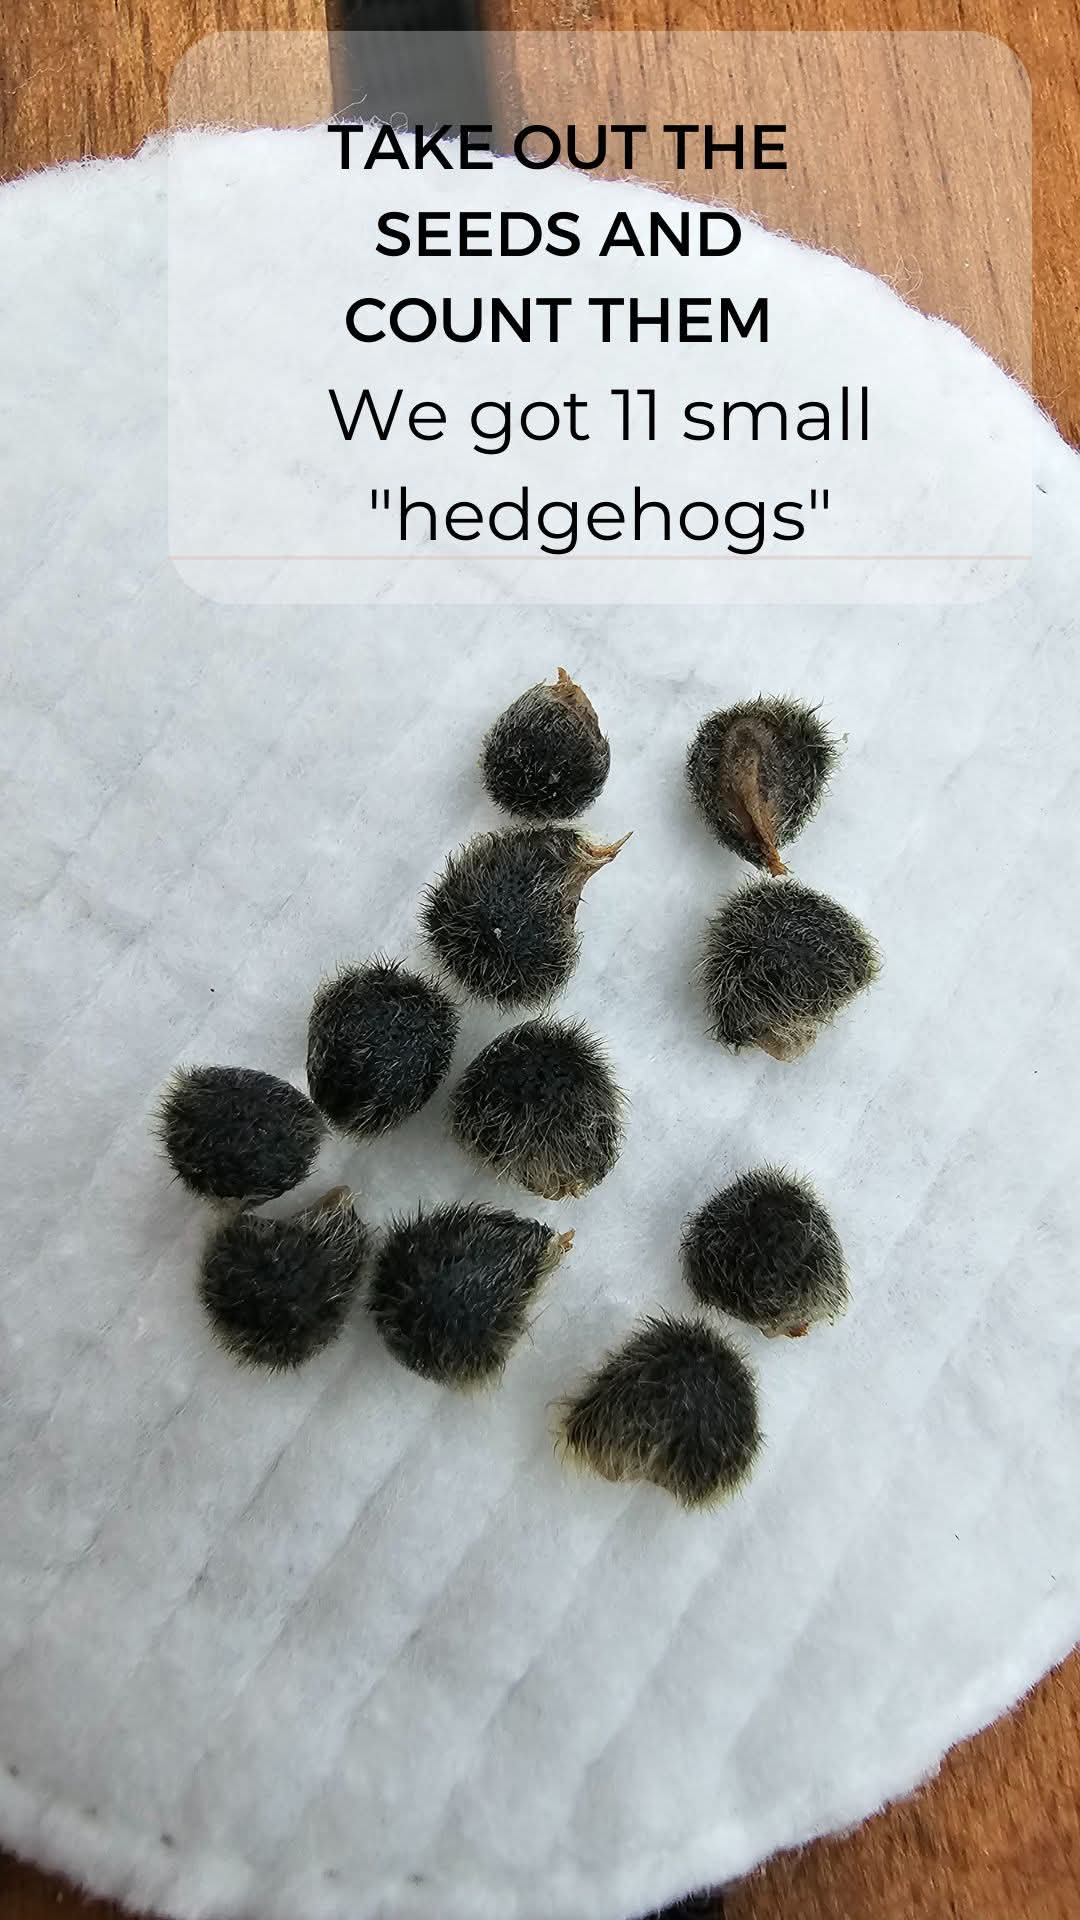
🔢 Step 1: Take out the seeds and count them
In our example we got 11 small "hedgehogs".
⏳ Be patient Sometimes seeds take a very long time to germinate, because their skin is quite thick. This often happens when the seeds have waited several months for planting. And sometimes it is the other way around: you put fresh seeds to germinate and already on the third or fourth day the root appears and the seed begins to grow. So don't be frustrated if your seeds don't germinate right away.
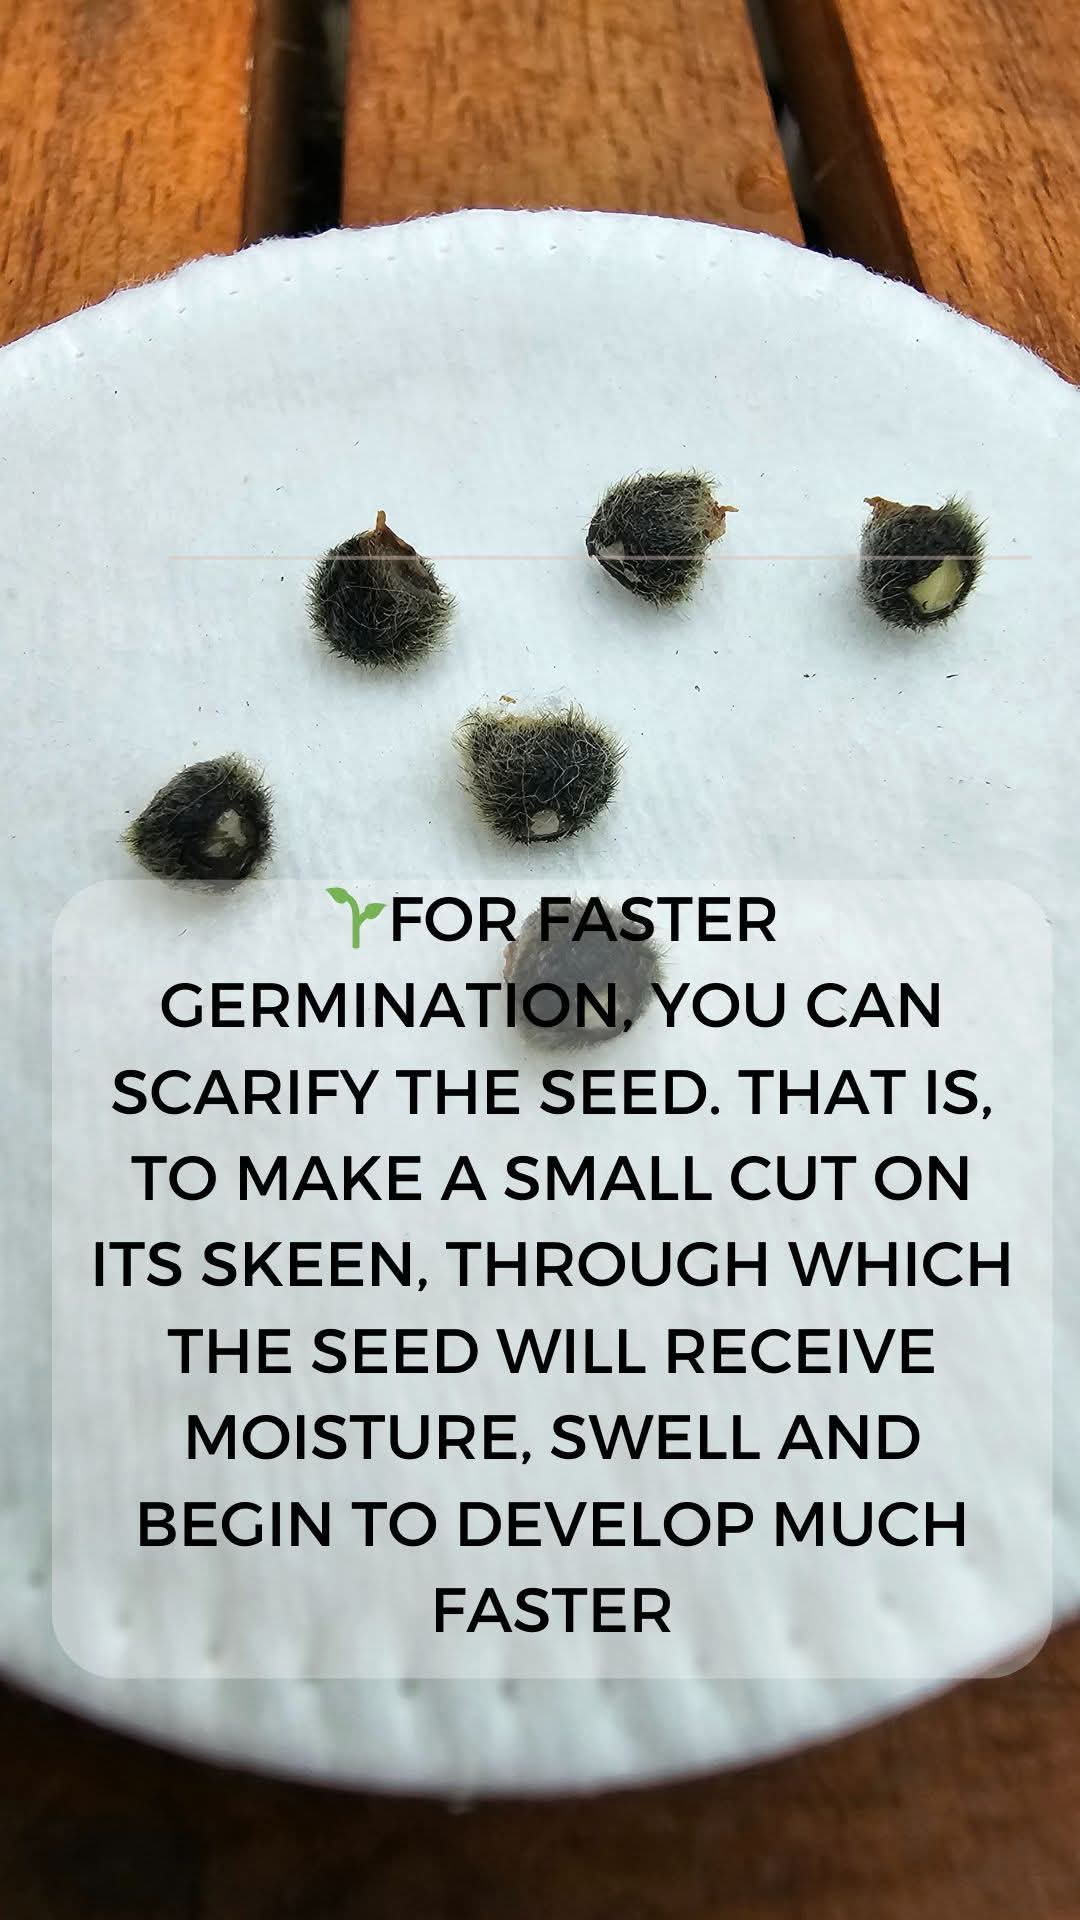
✂️ Step 2: Scarify for faster germination
For faster germination you can scarify the seed — that means making a small cut in its skin. Through it the seed receives moisture, swells and starts to develop much faster.
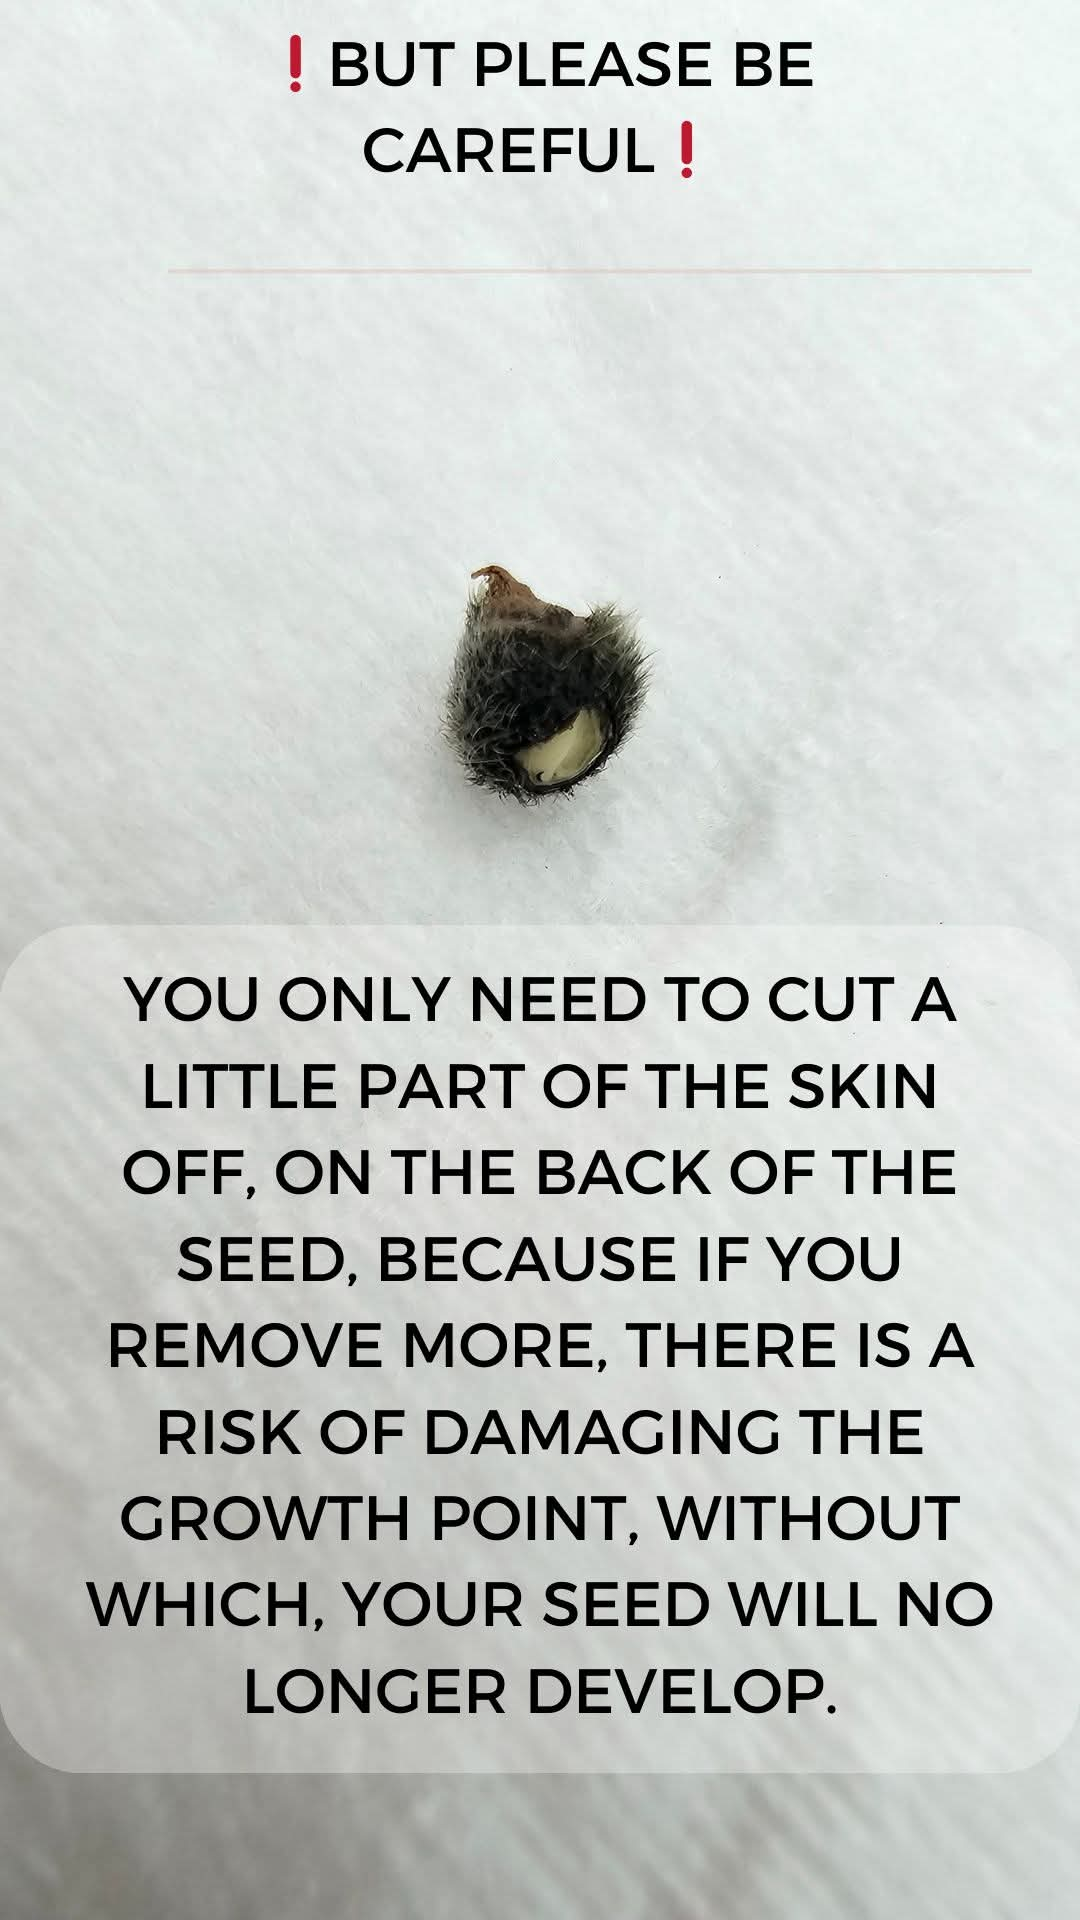
❗ But please be careful! You only need to cut off a little part of the skin on the back of the seed. If you remove more, you risk damaging the growth point — and without it your seed will no longer develop.
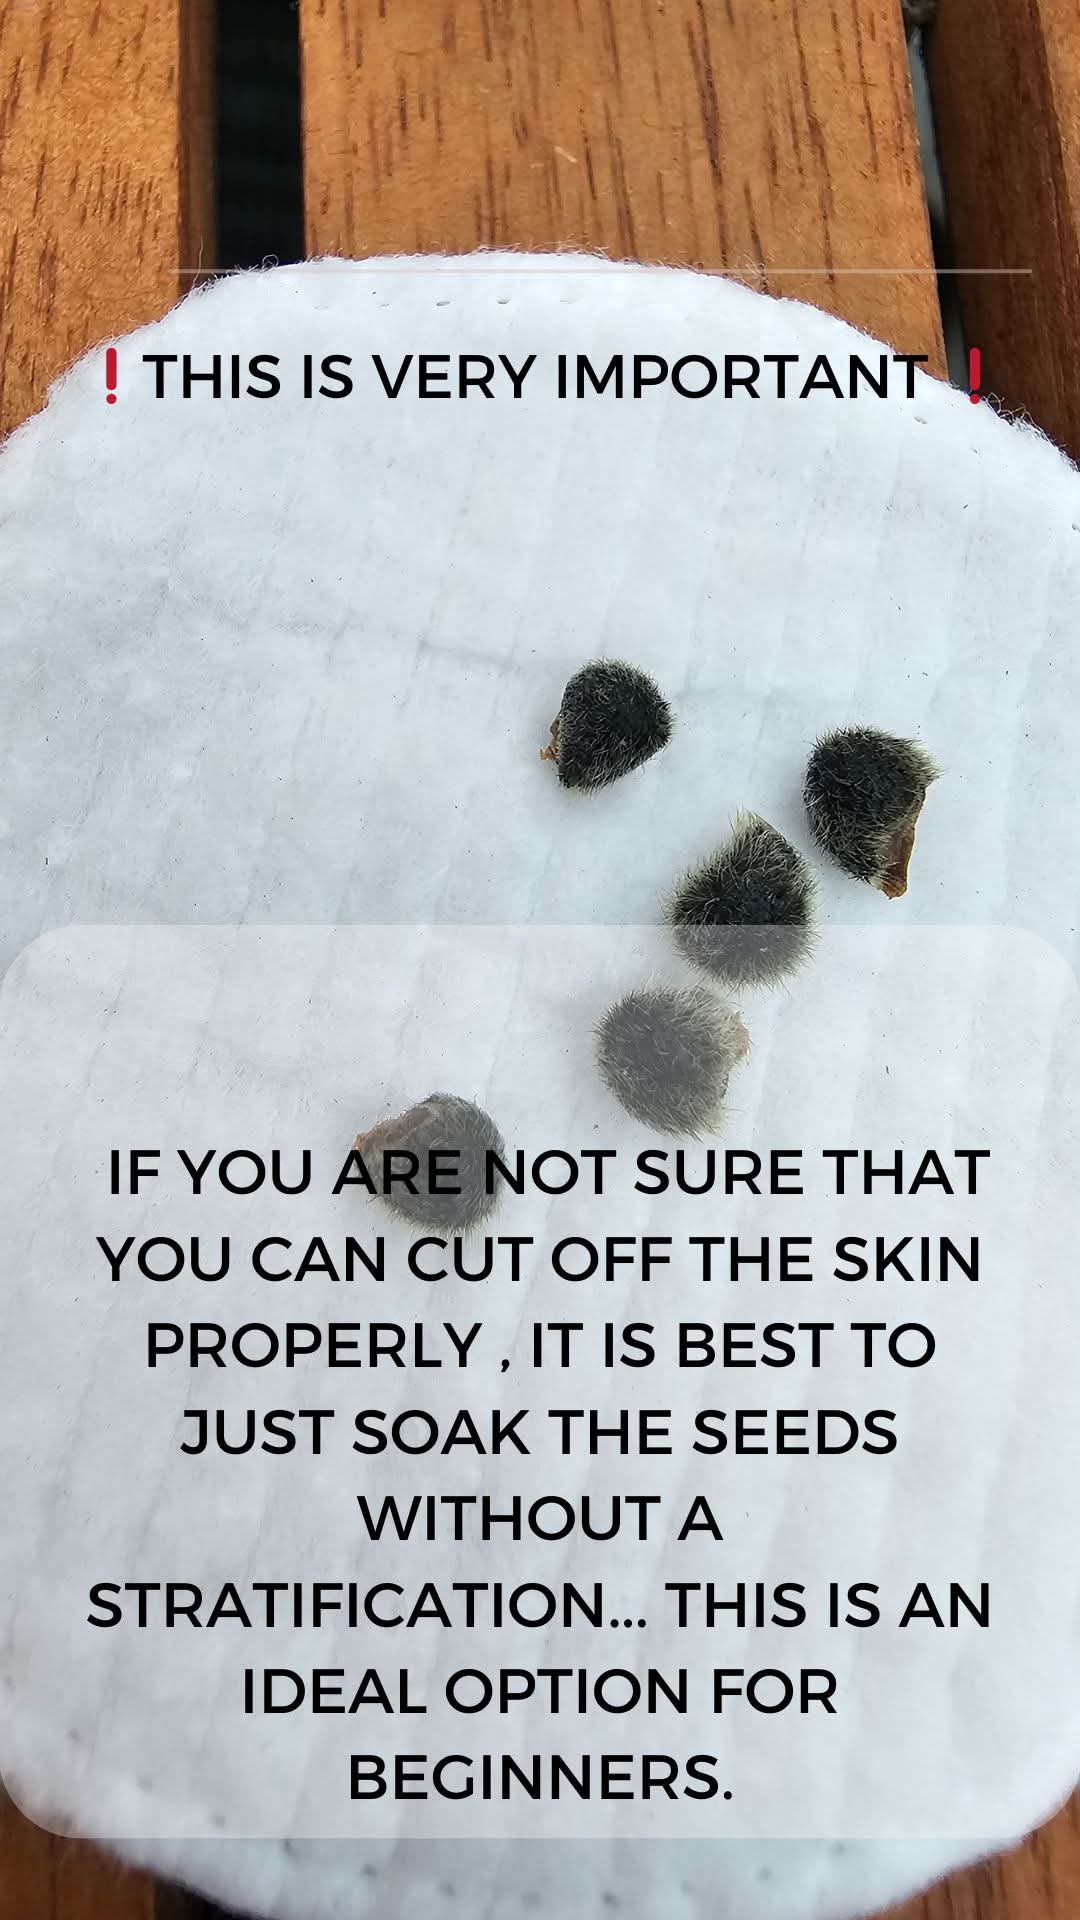
❗ This is very important If you are not sure you can cut the skin properly, it is best to simply soak the seeds without scarification. This is the ideal option for beginners.
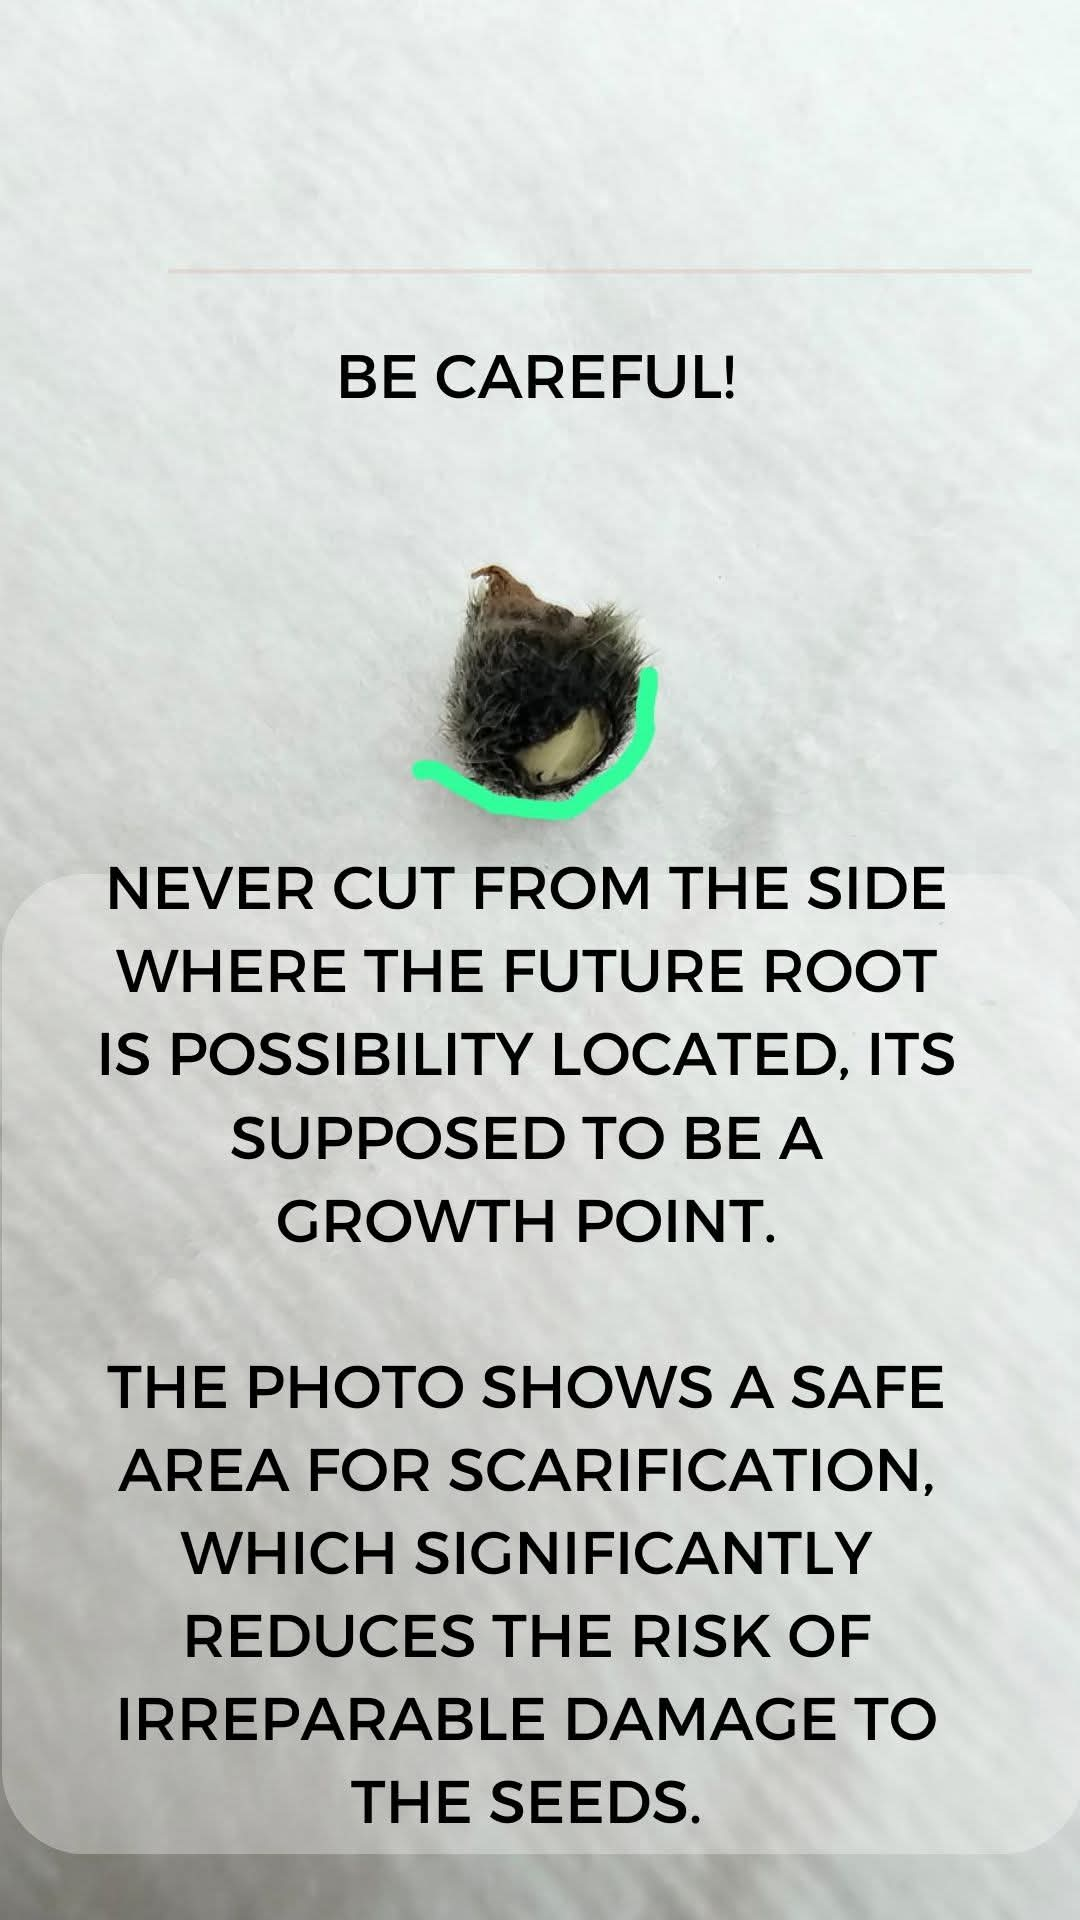
Never cut on the side where the future root is located — that is the growth point. The photo shows the safe area for scarification, which greatly reduces the risk of irreparable damage to the seed.
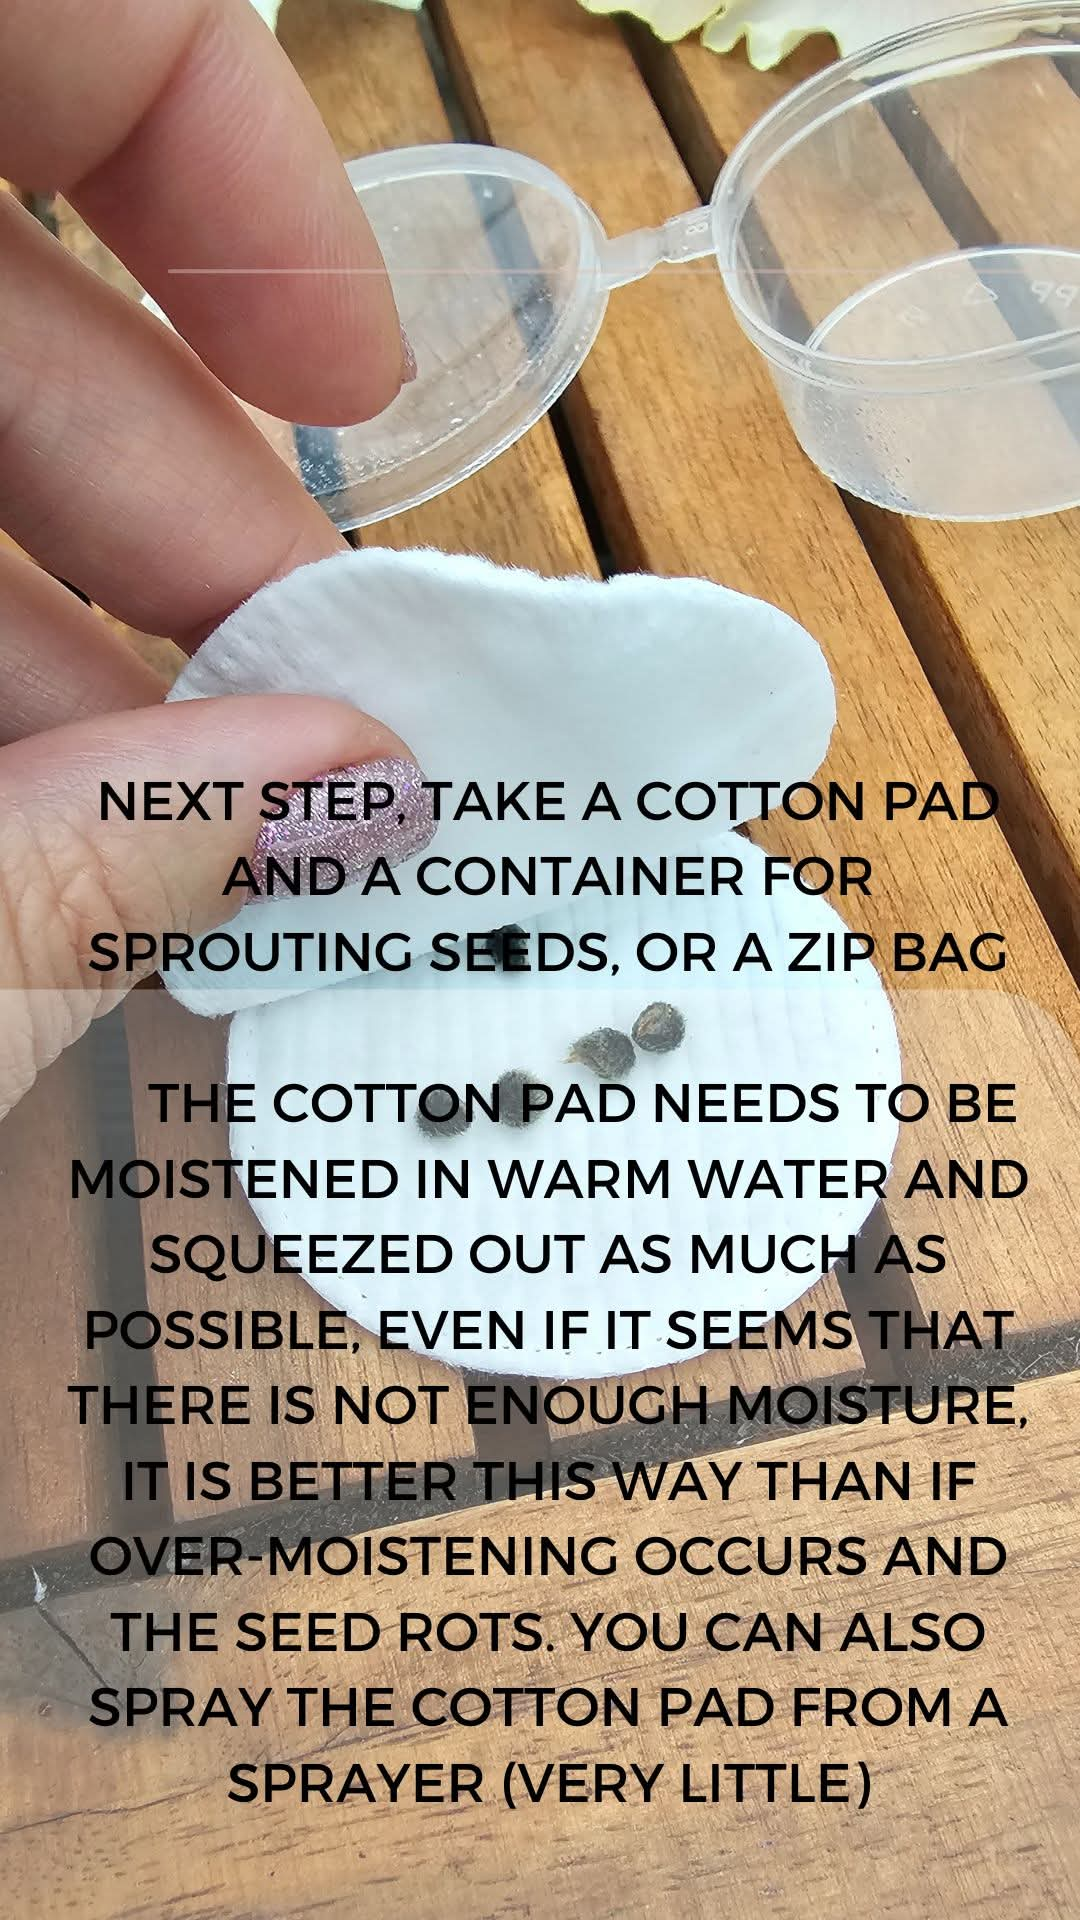
💧 Step 3: Prepare the cotton pad
Take a cotton pad and a container for sprouting seeds, or a zip bag. Moisten the cotton pad in warm water and squeeze it out as much as possible. Even if it seems there is not enough moisture, this is better than too much — with too much water the seed rots. You can also spray the cotton pad very lightly with a sprayer.
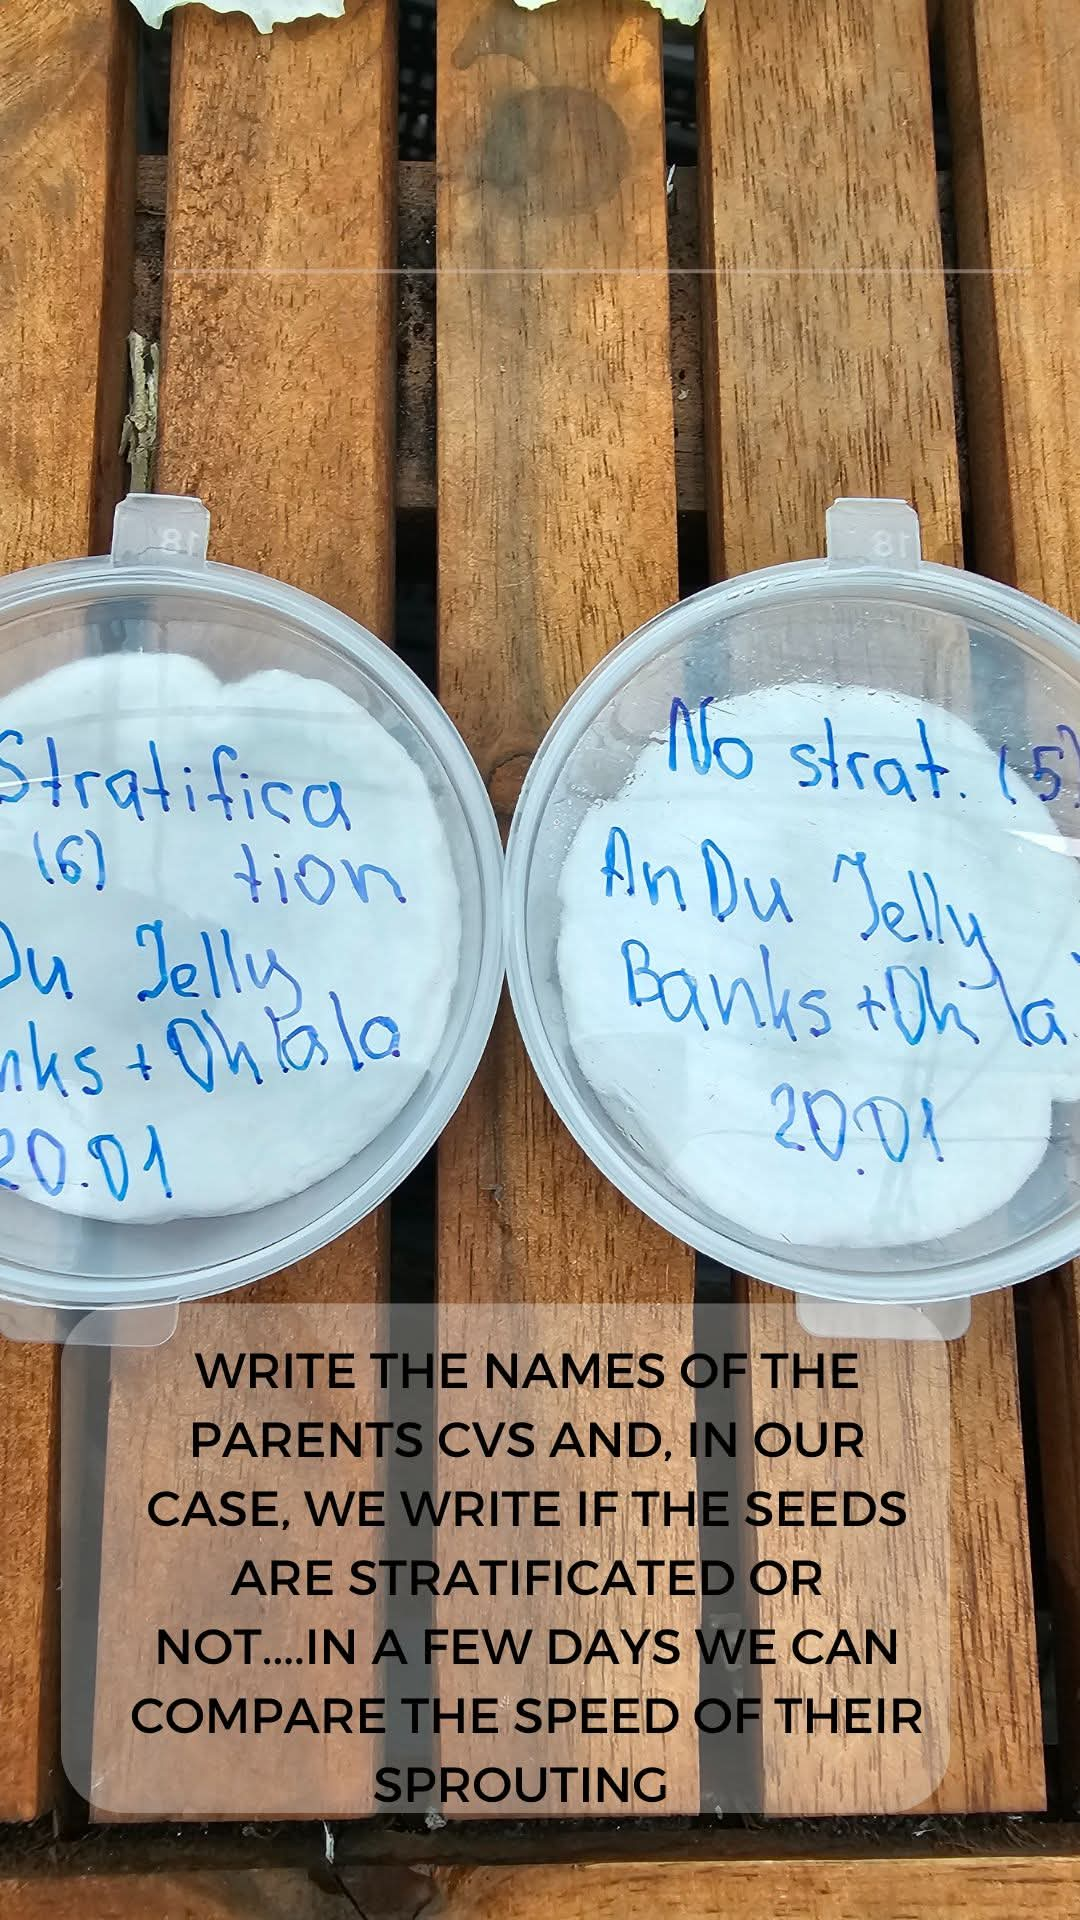
🏷️ Step 4: Label everything
Write the names of the parent plants on the box. In our case we also wrote whether the seeds were scarified or not, so in a few days we can compare how fast they sprout.
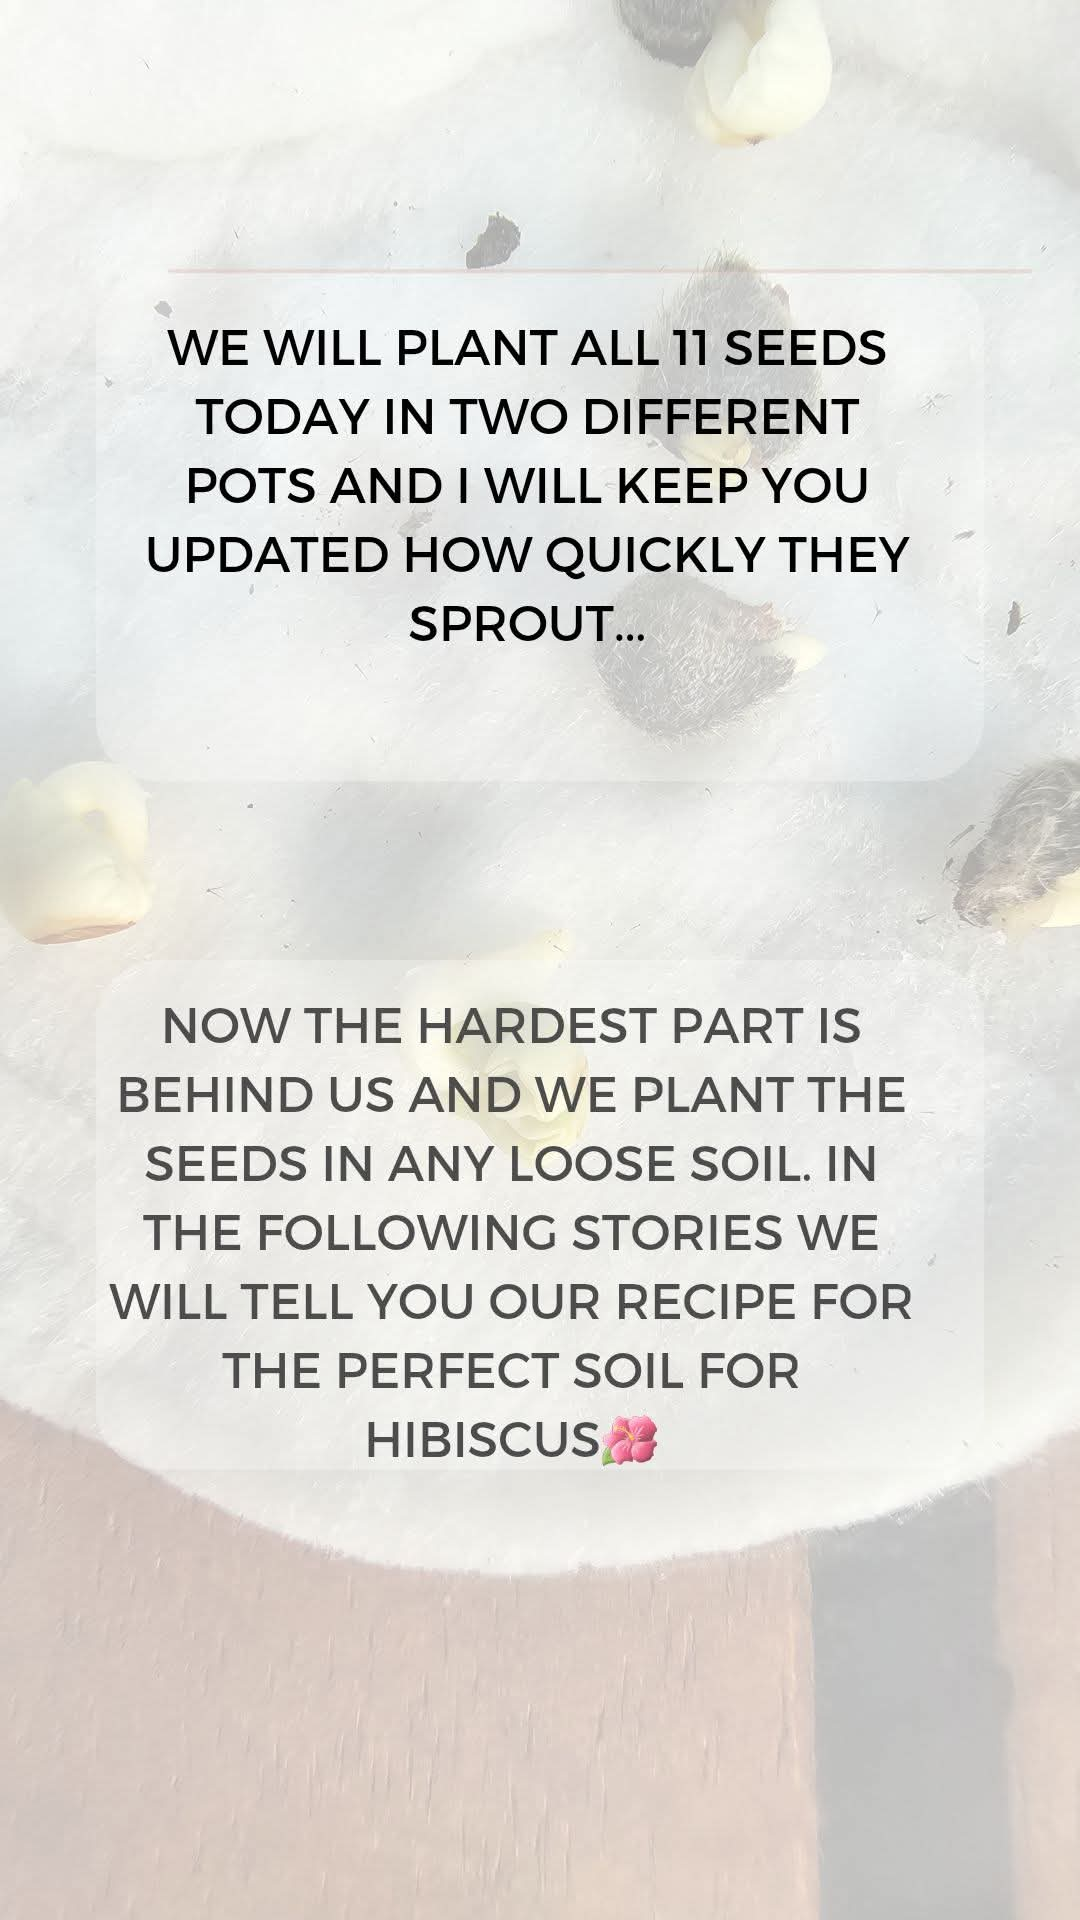
🔍 The difference after a few days These are the seeds with uncut skin. Their skin got softer, but they take longer to sprout.
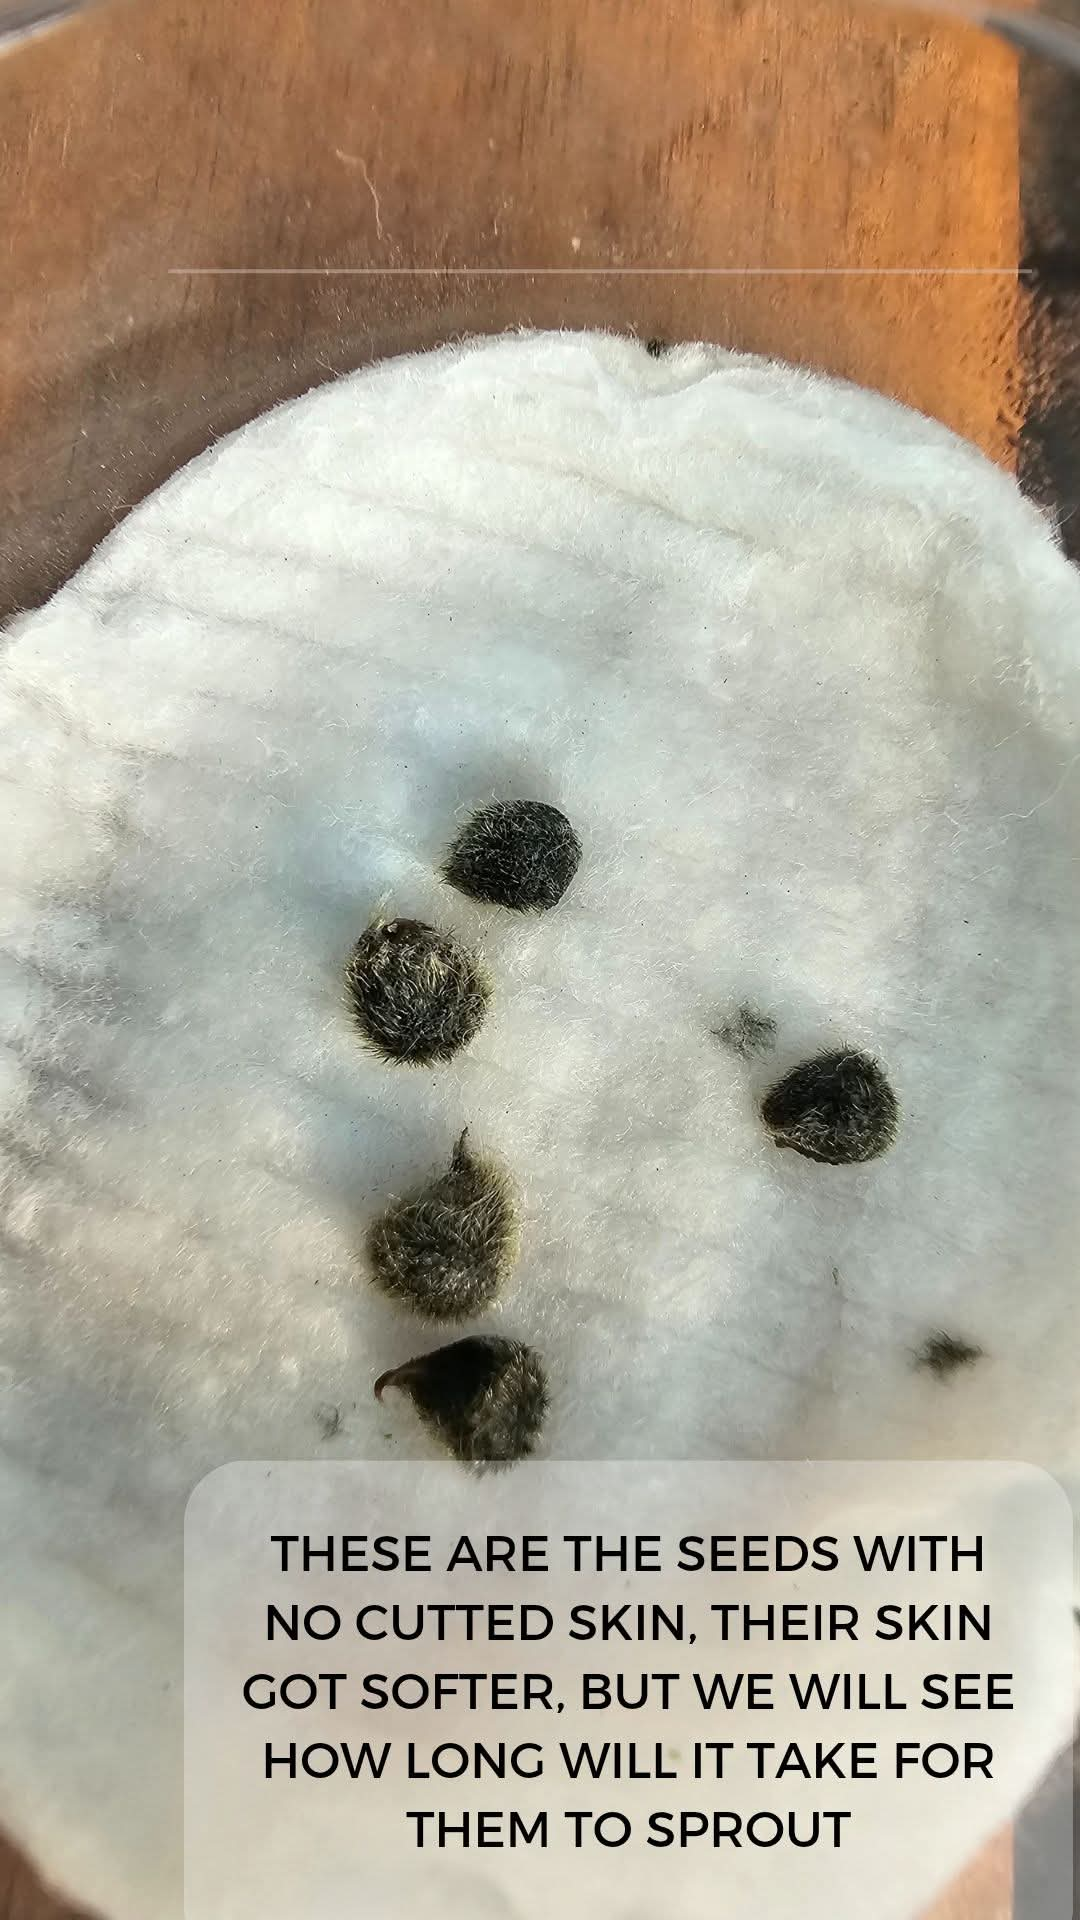
🌱 The scarified seeds These are the seeds we scarified. As you can see, they are much further along — the root is out and they are ready to be planted.
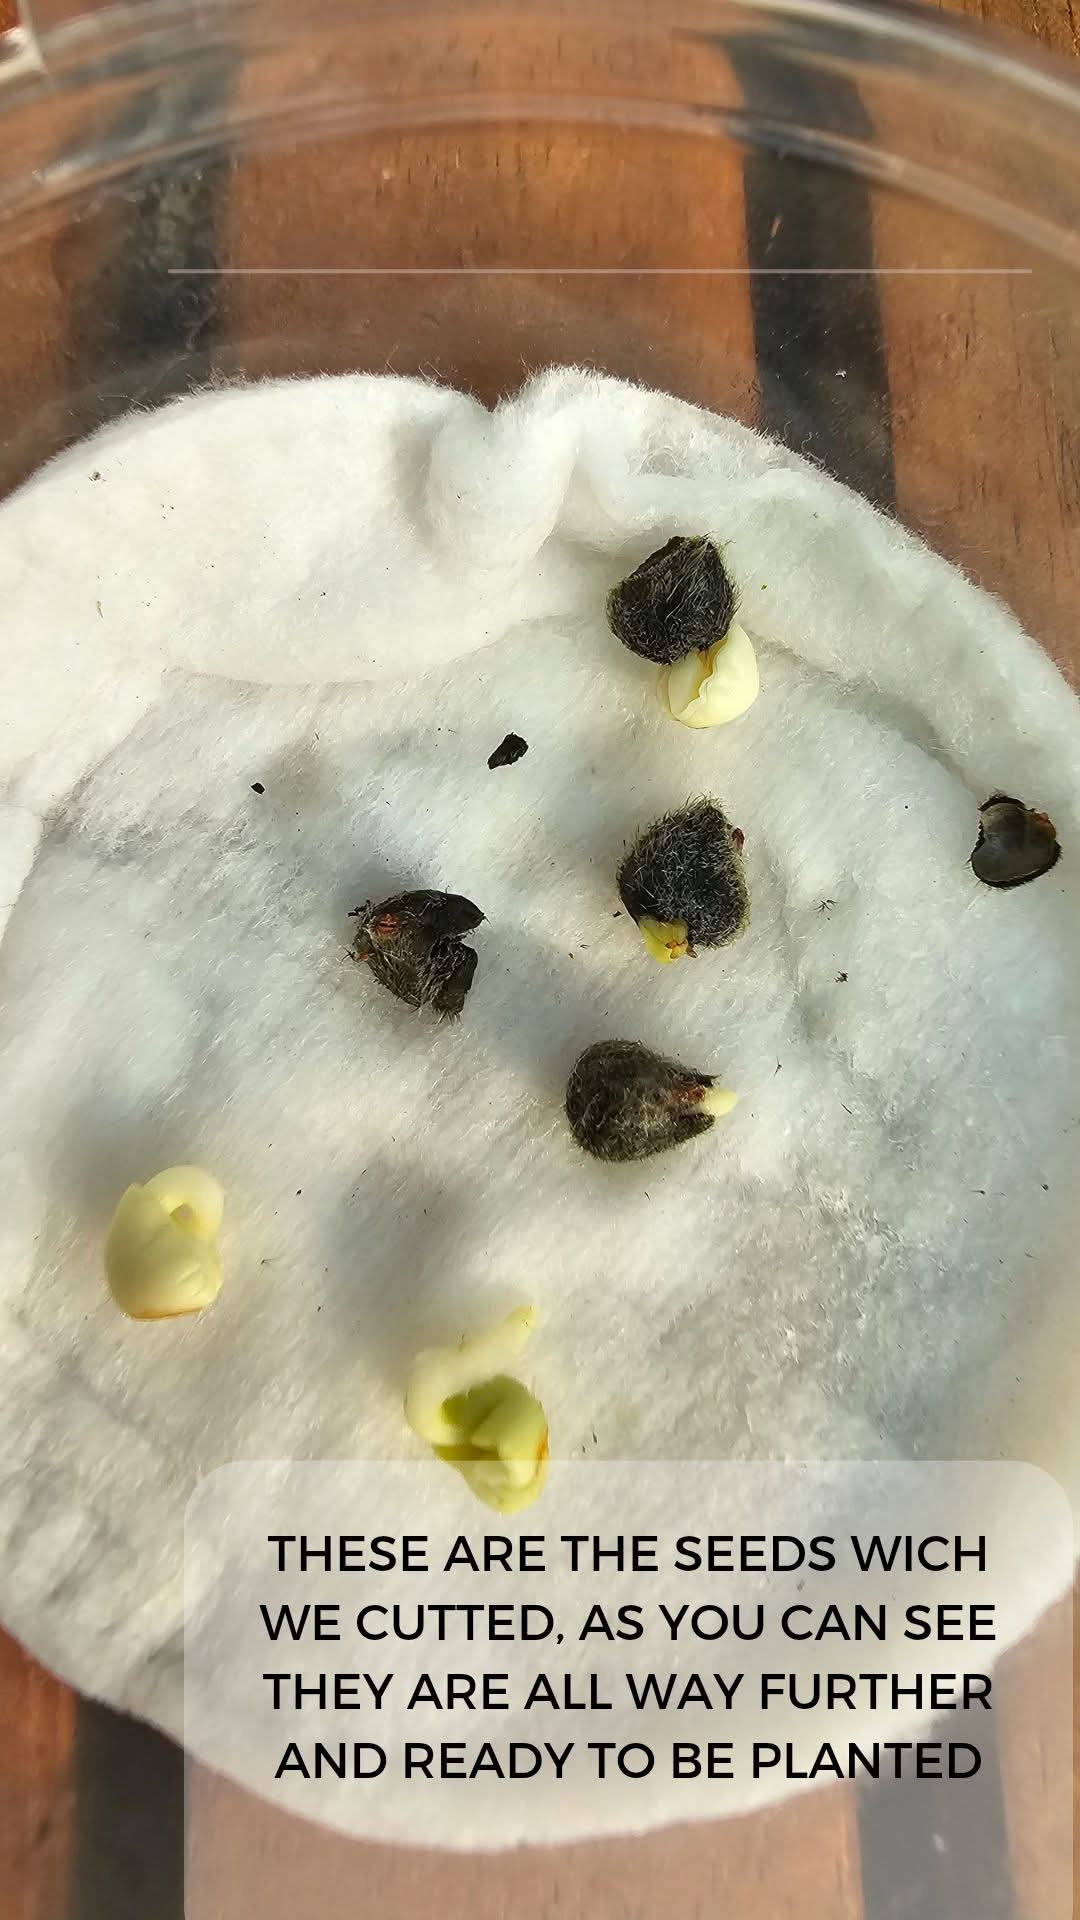
🌱 Ready for soil When the little root appears, the hardest part is behind you. Now the seedling can be planted in any loose soil.
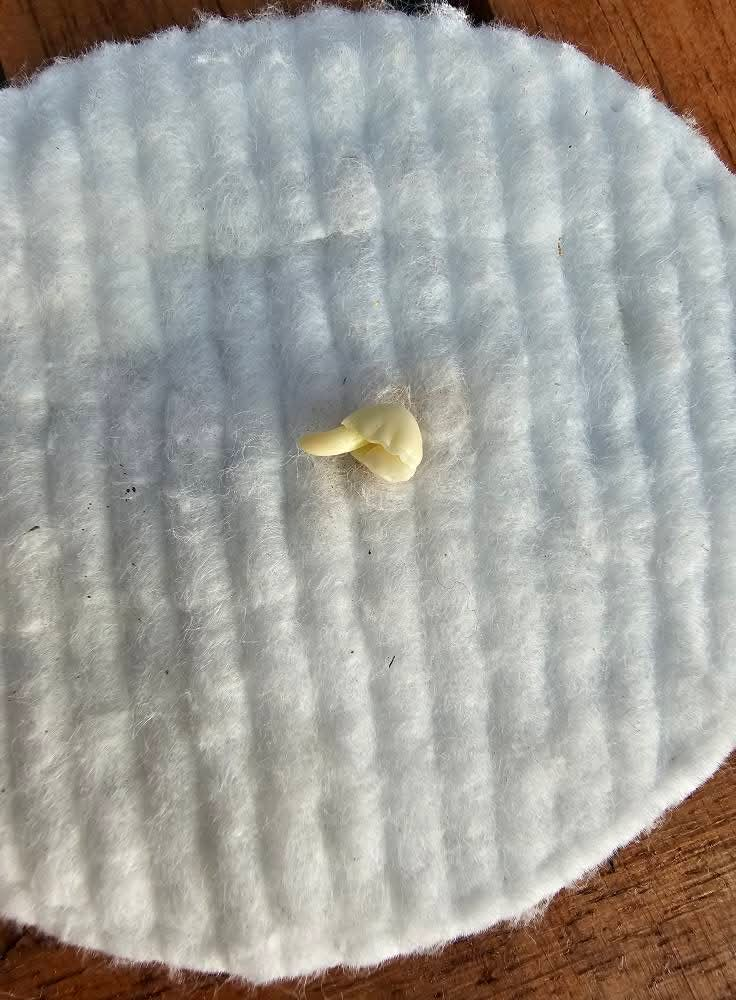
🪴 Step 5: Prepare the soil
Compact the soil a little, but make sure it stays light and fluffy.
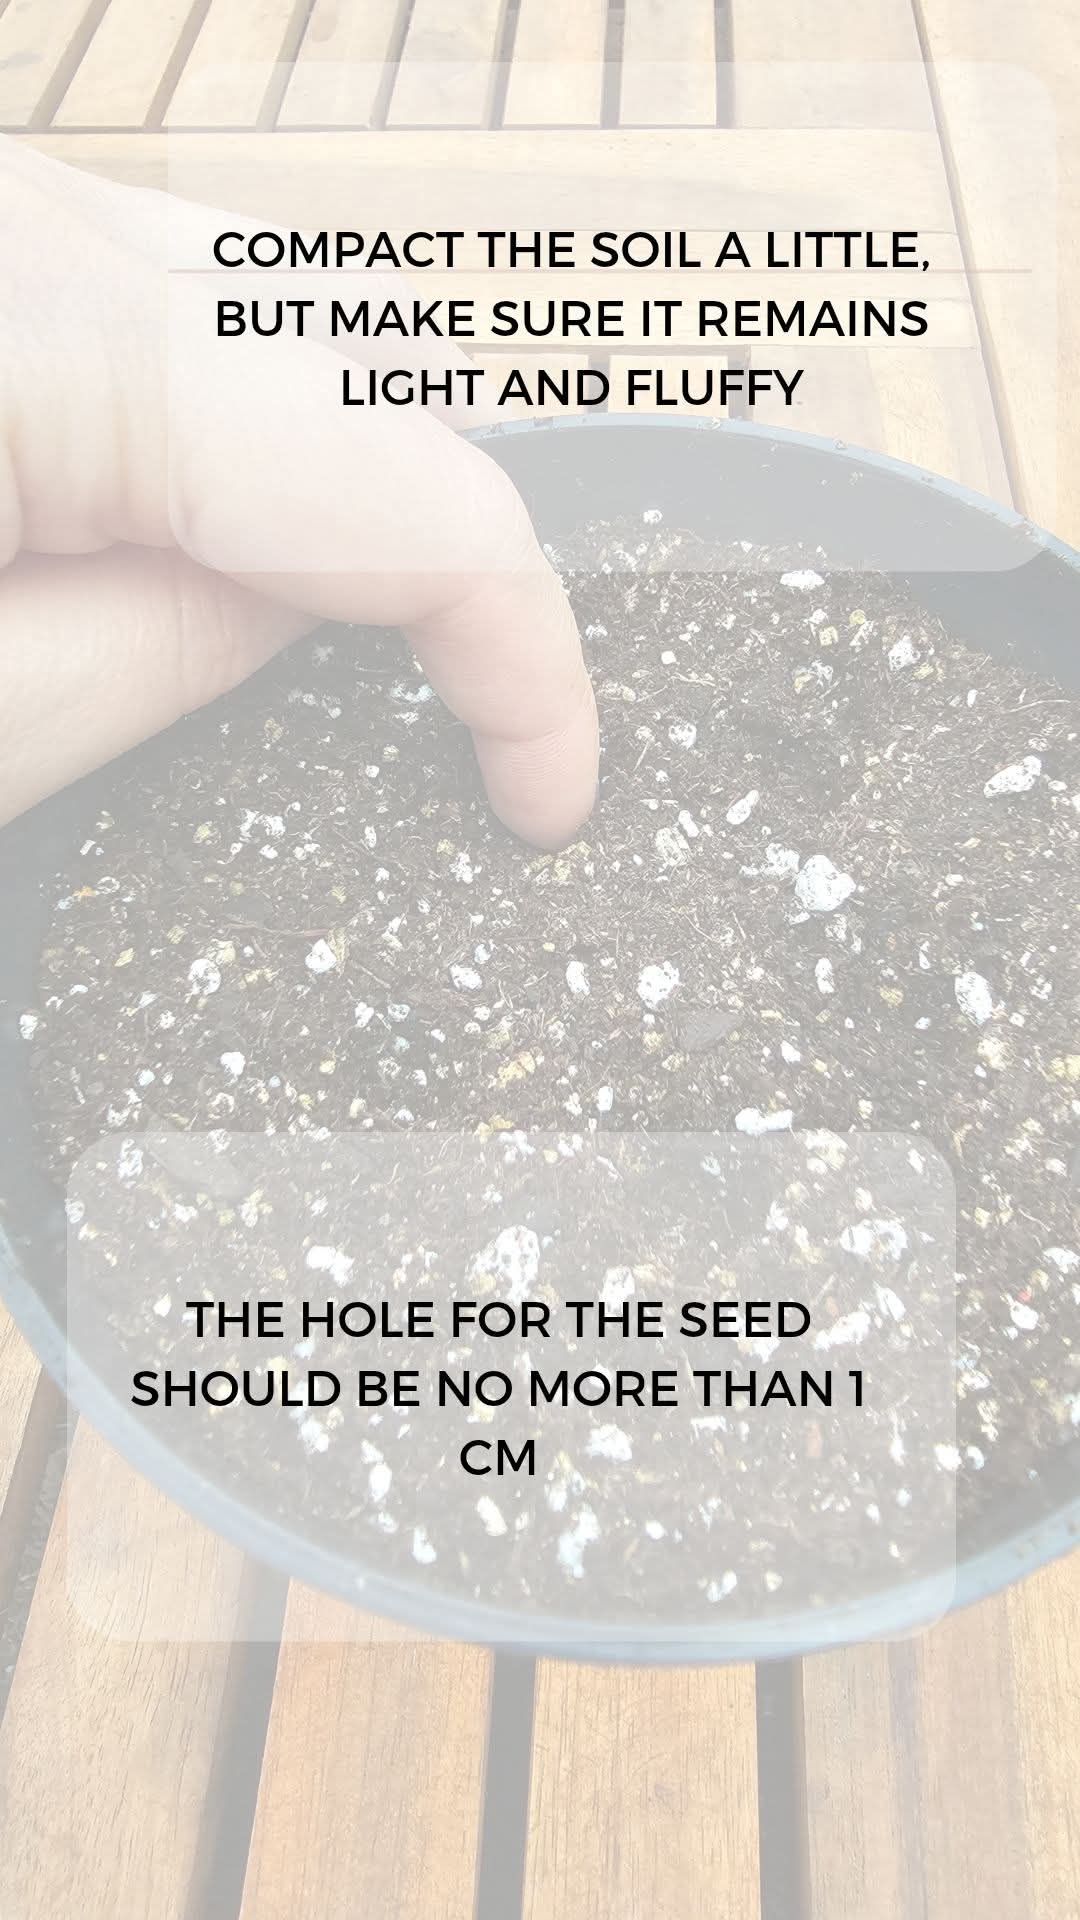
📏 Step 6: Make a small hole
The hole for the seed should be no deeper than 1 cm.
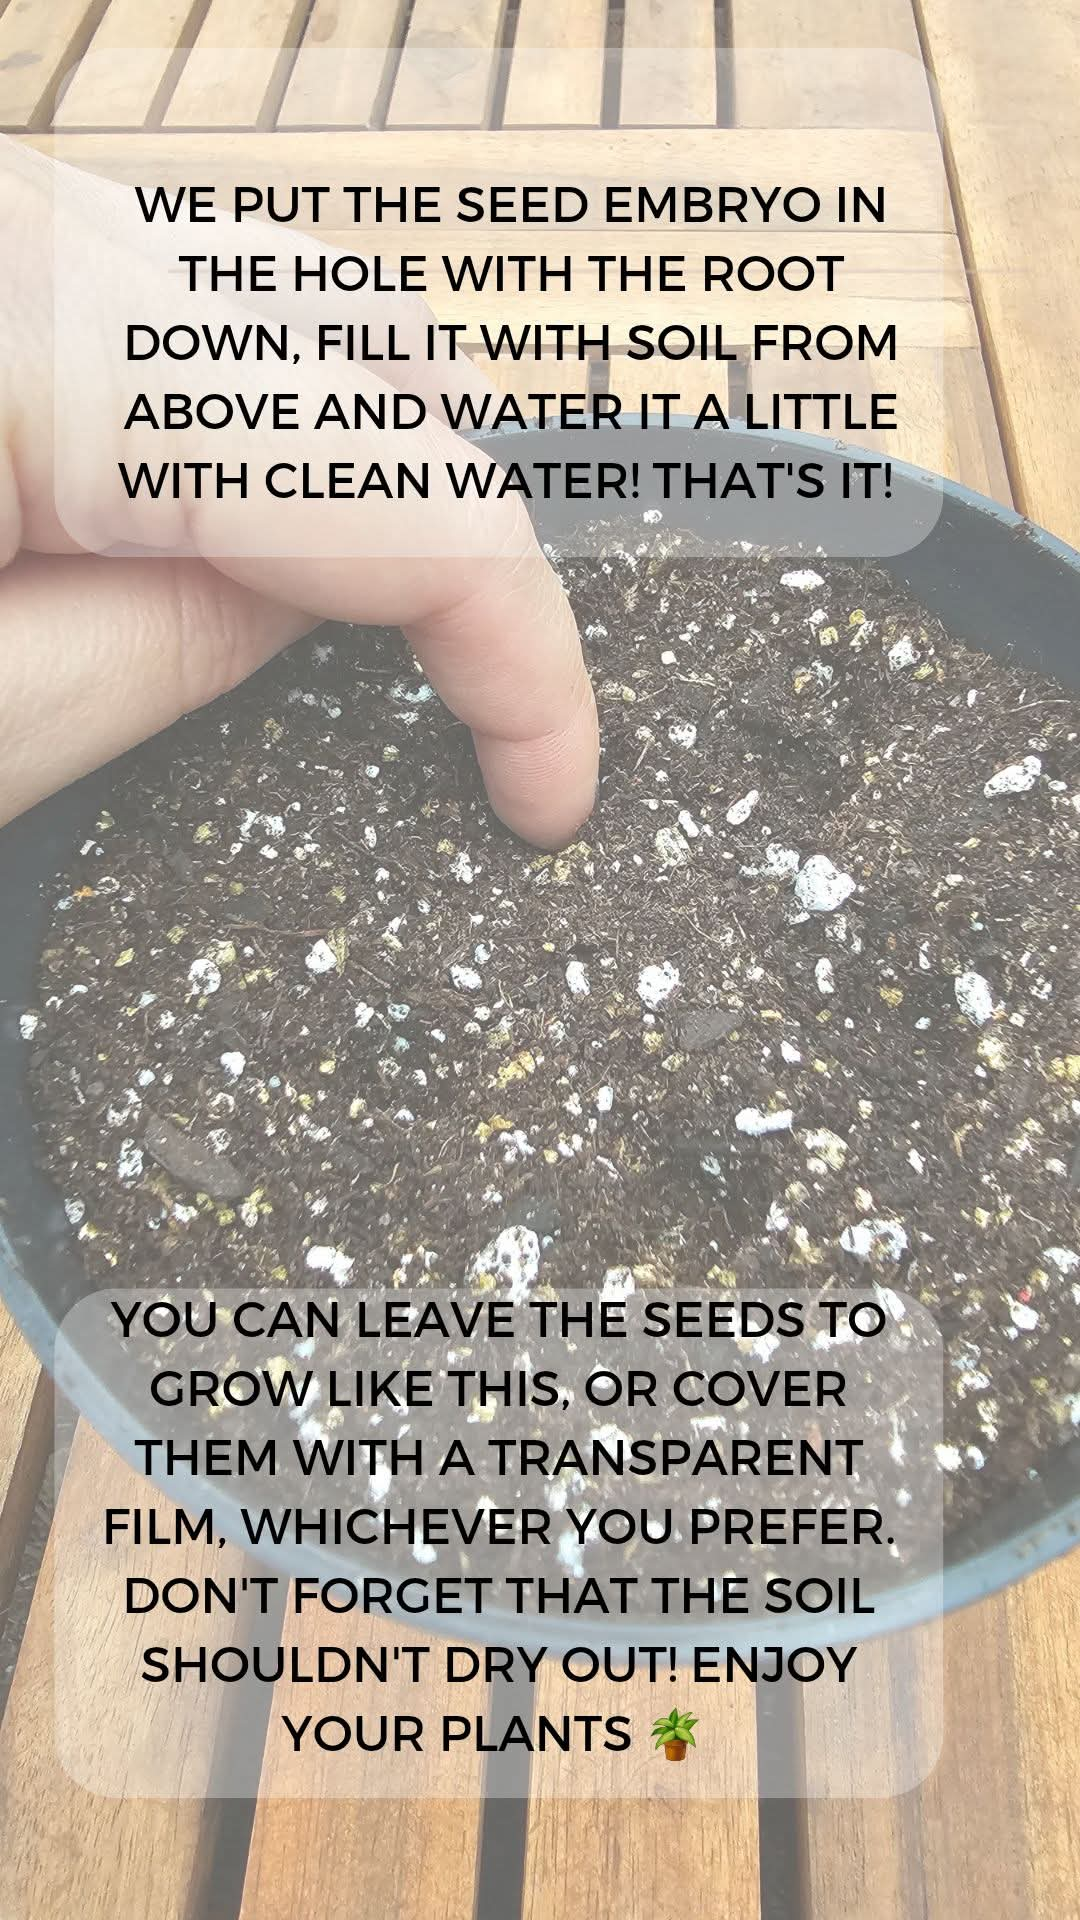
🌿 Step 7: Plant the seedling
Put the germinated seed into the hole with the root pointing down, cover it with soil and water it a little with clean water. That's it!
You can leave the seeds to grow like this or cover them with a transparent film, whichever you prefer. Just don't let the soil dry out.
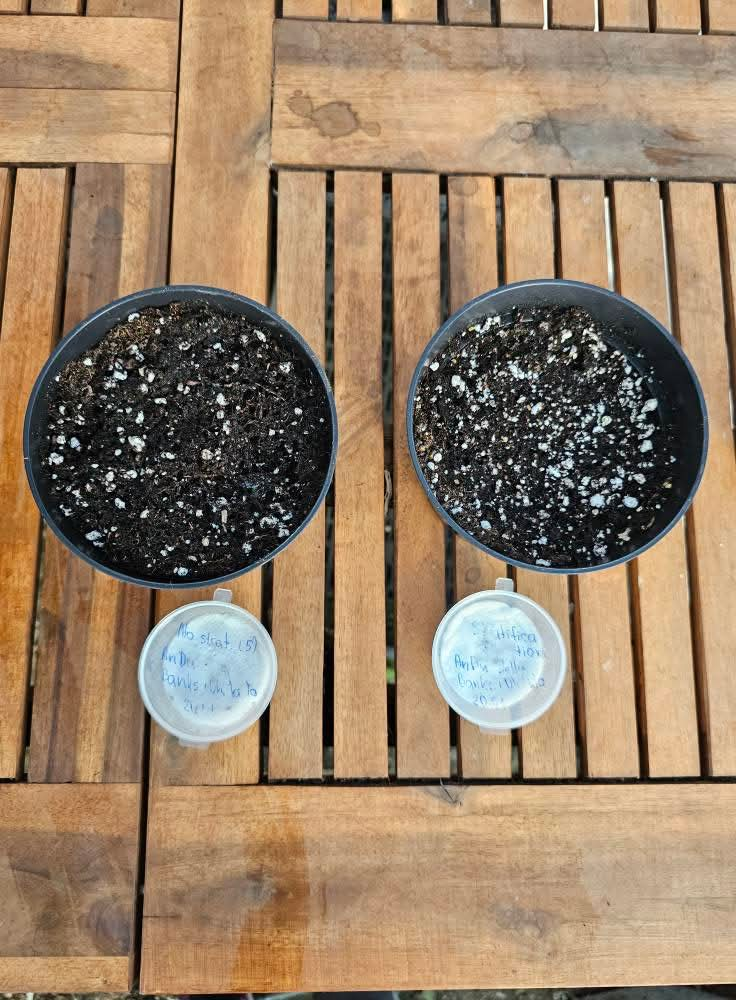
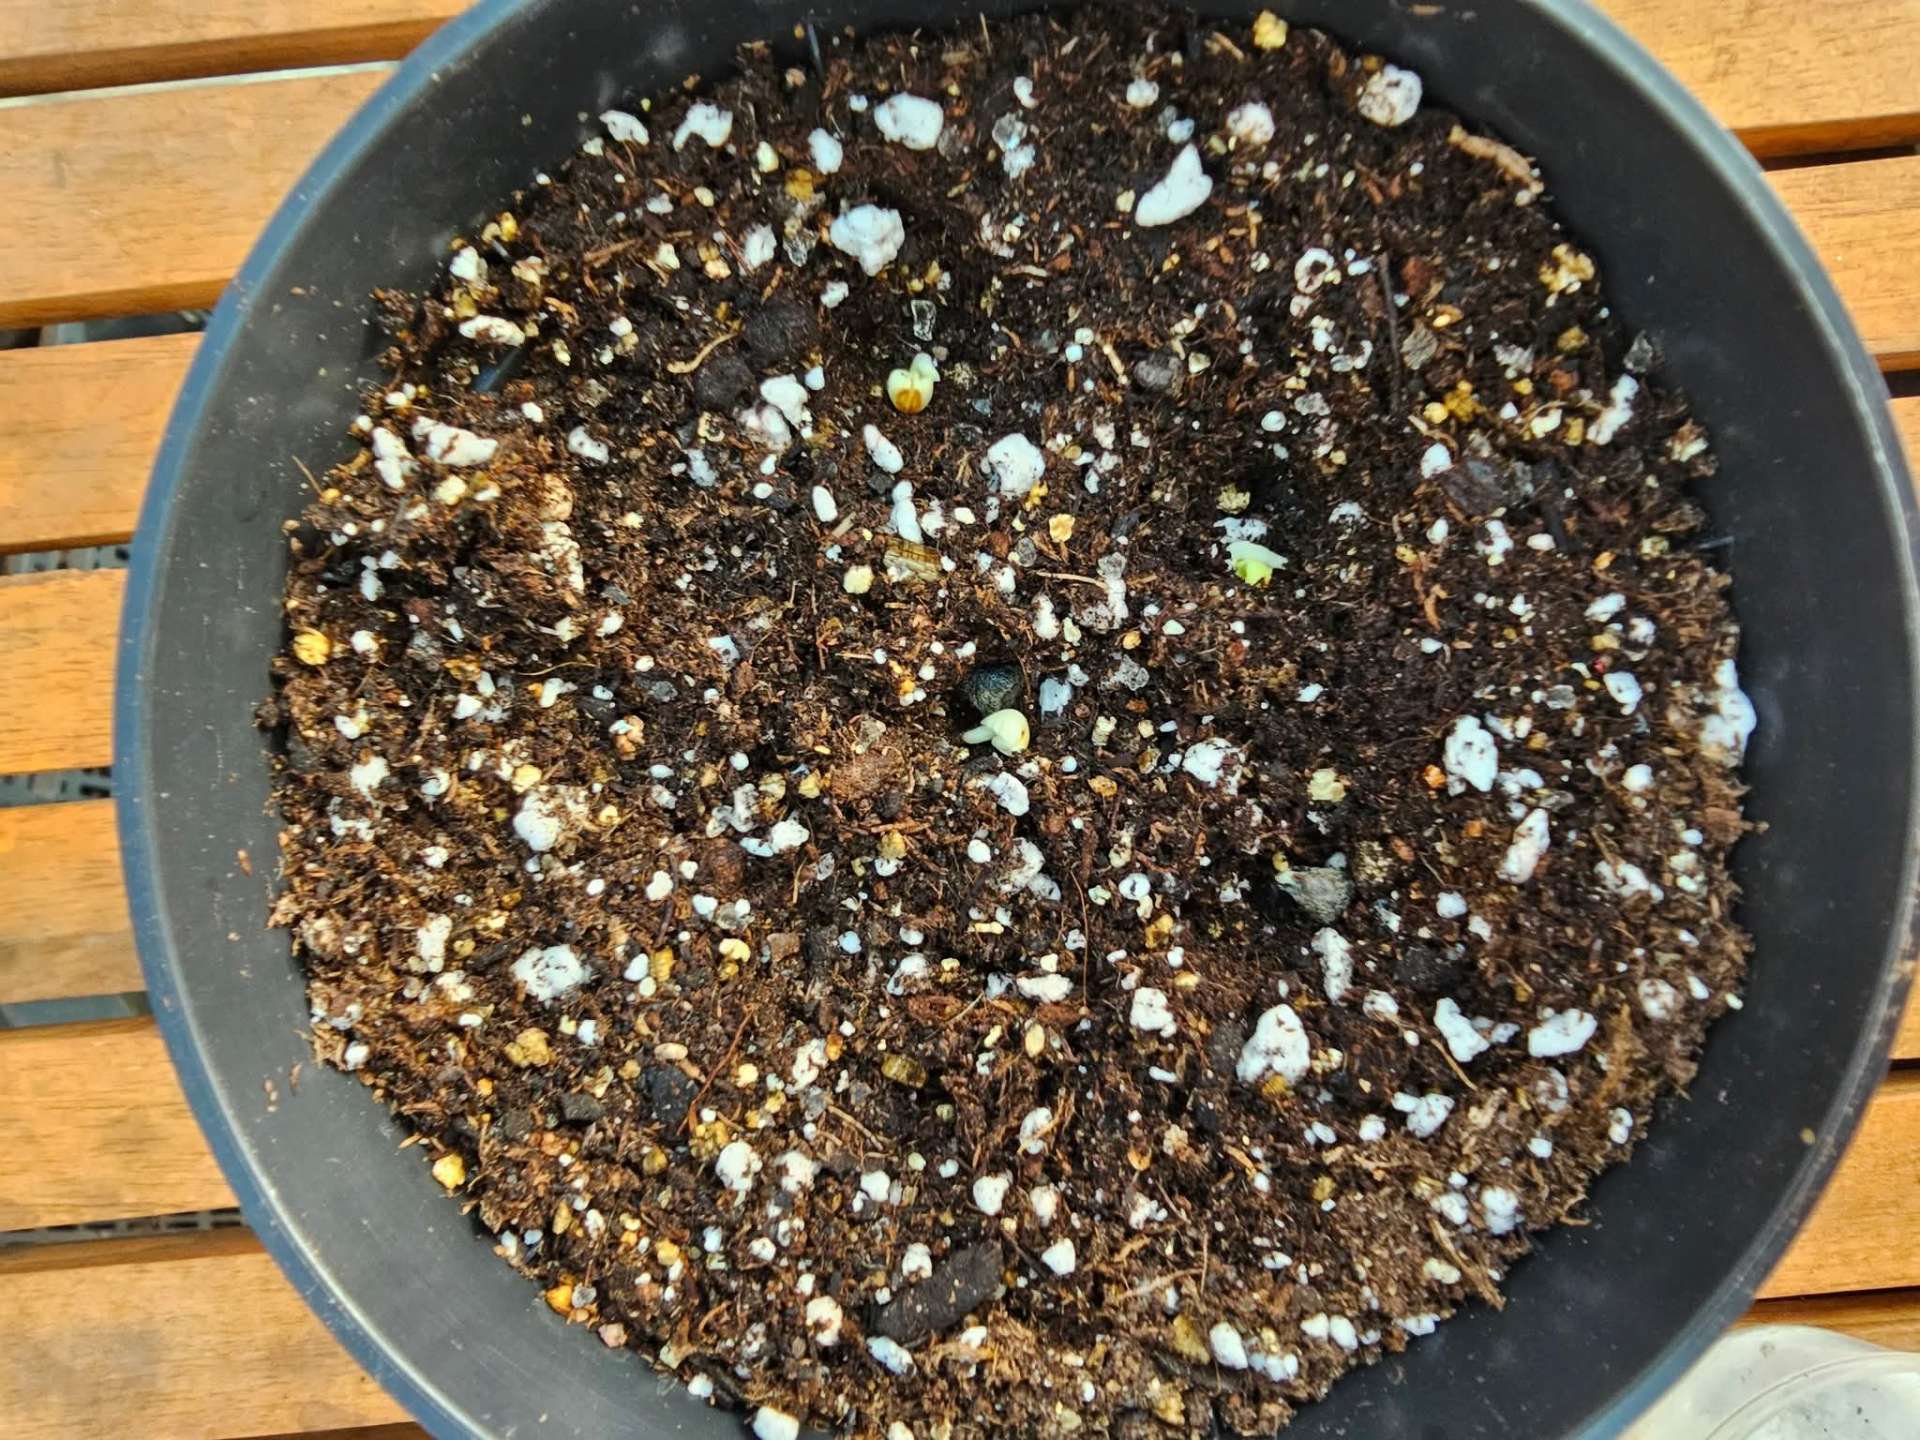
🎉 Done! Now your seedlings only need warmth, light and a little patience. We wish you lots of joy and success with your new hibiscus — maybe one day you will show us your very own new variety 🌺