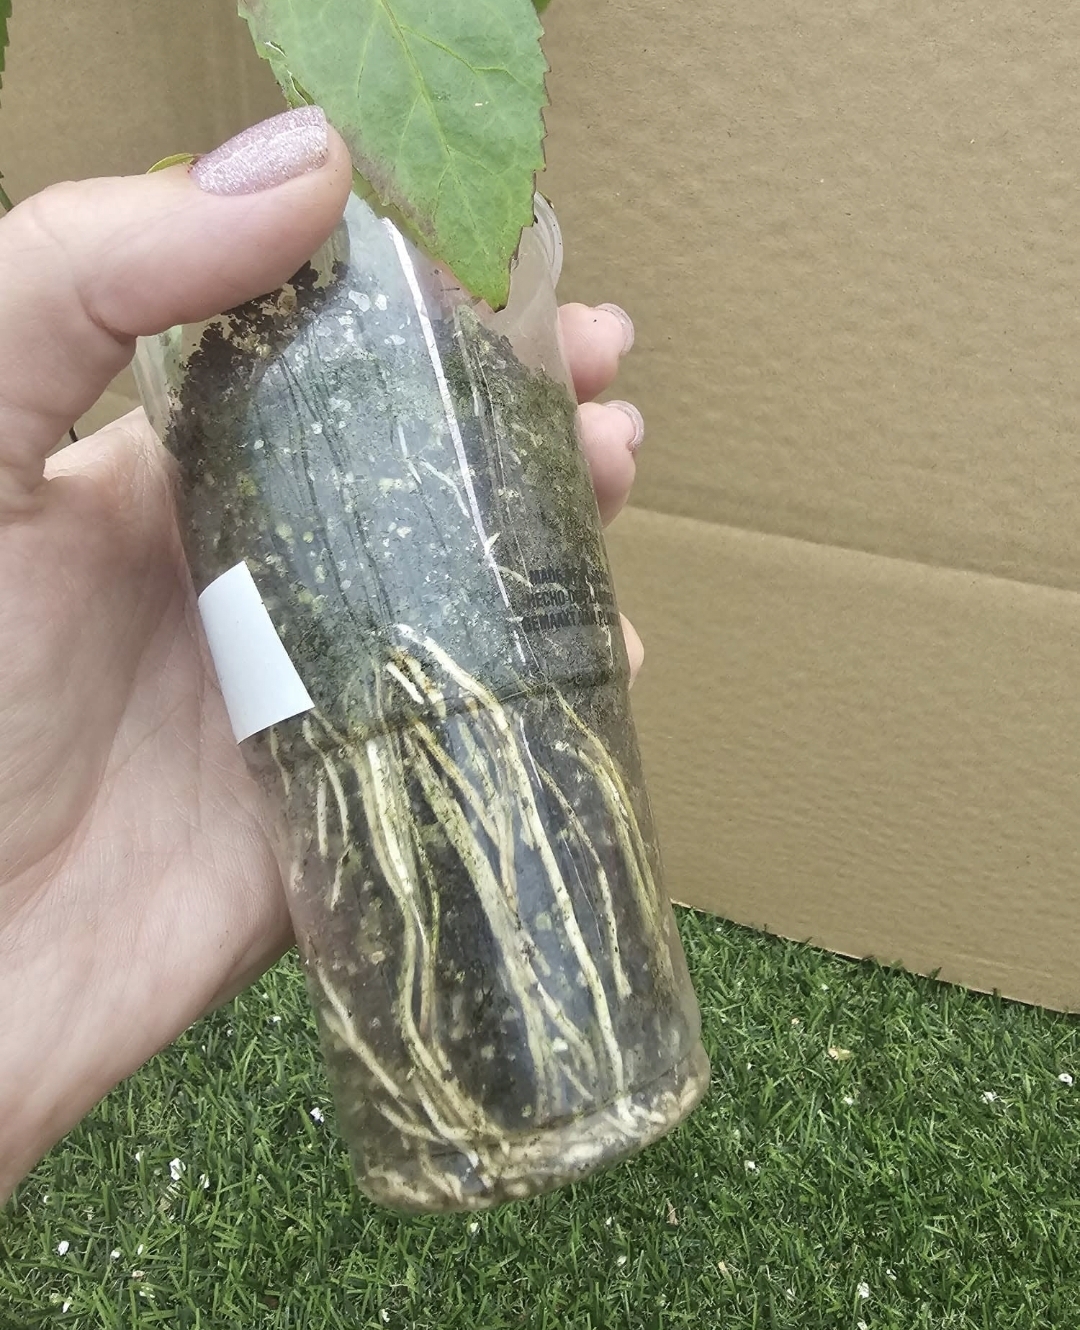
Growing hibiscus from cuttings is one of the most rewarding things you can do as a hibiscus lover. It costs almost nothing, multiplies your favourite variety, and gives you plants identical to the mother plant.
At our nursery in Madeira — Europe's largest hybrid hibiscus nursery — we root thousands of cuttings every year. Here is the exact method we use.
🌿 The best time
- Spring and early summer (April to July) — fastest rooting, highest success rate
- Late summer (August to September) — still works, slower
- Winter — only with grow light and bottom heat
🔪 Step 1: Choose the right shoot
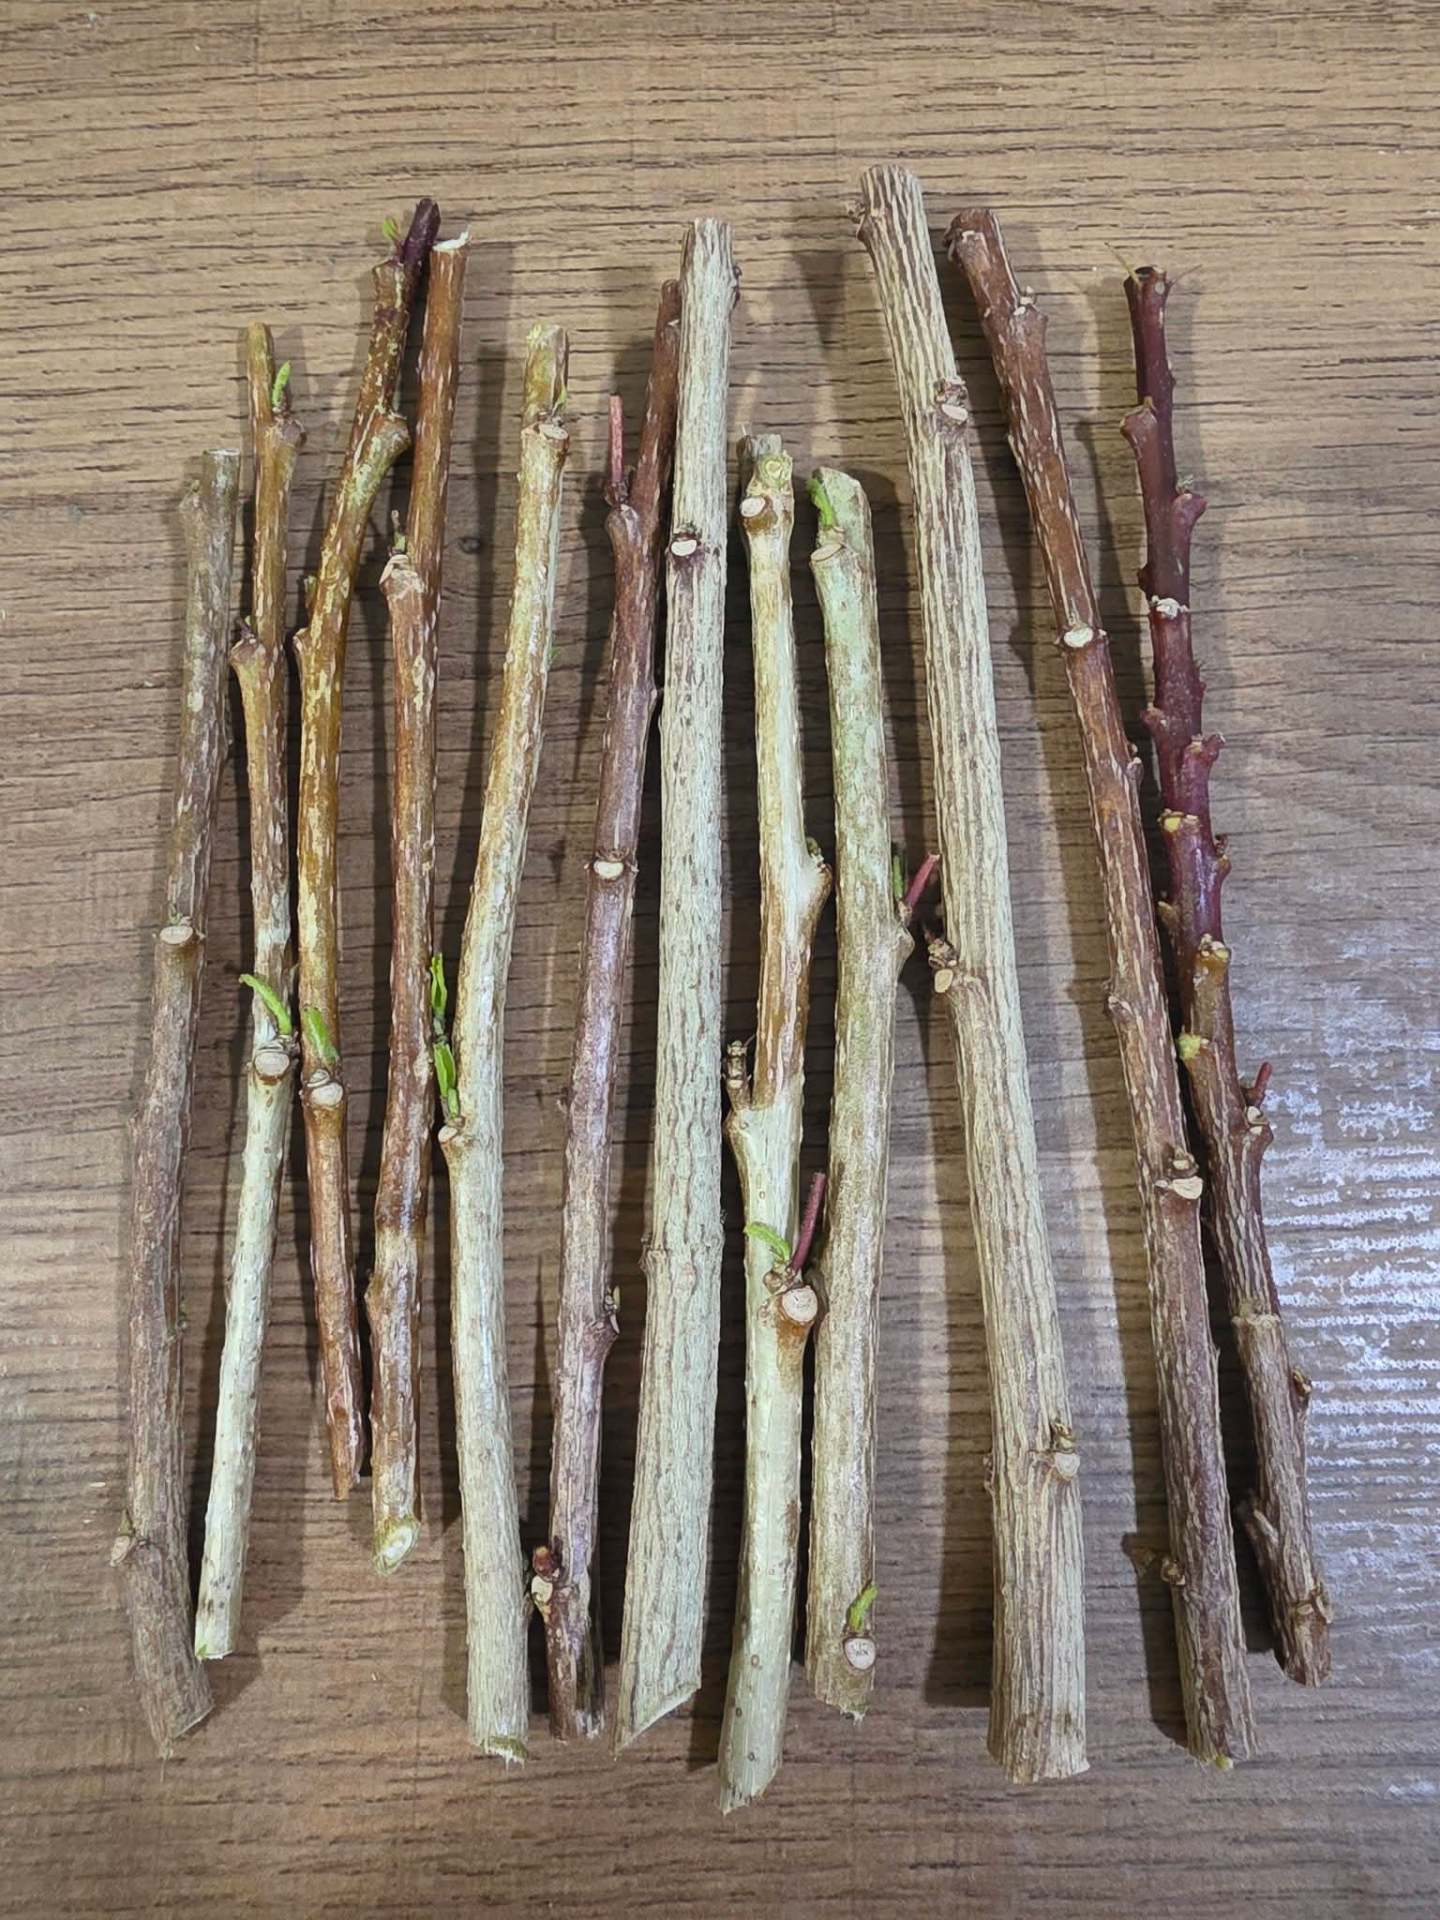
- Take a semi-hardwood shoot — not too soft, not too woody
- 10–15 cm long, with 3–5 leaf nodes
- A healthy green shoot from the current year, no flower buds
- Cut just below a leaf node with a clean, sharp knife or razor blade
✂️ Step 2: Prepare the cutting
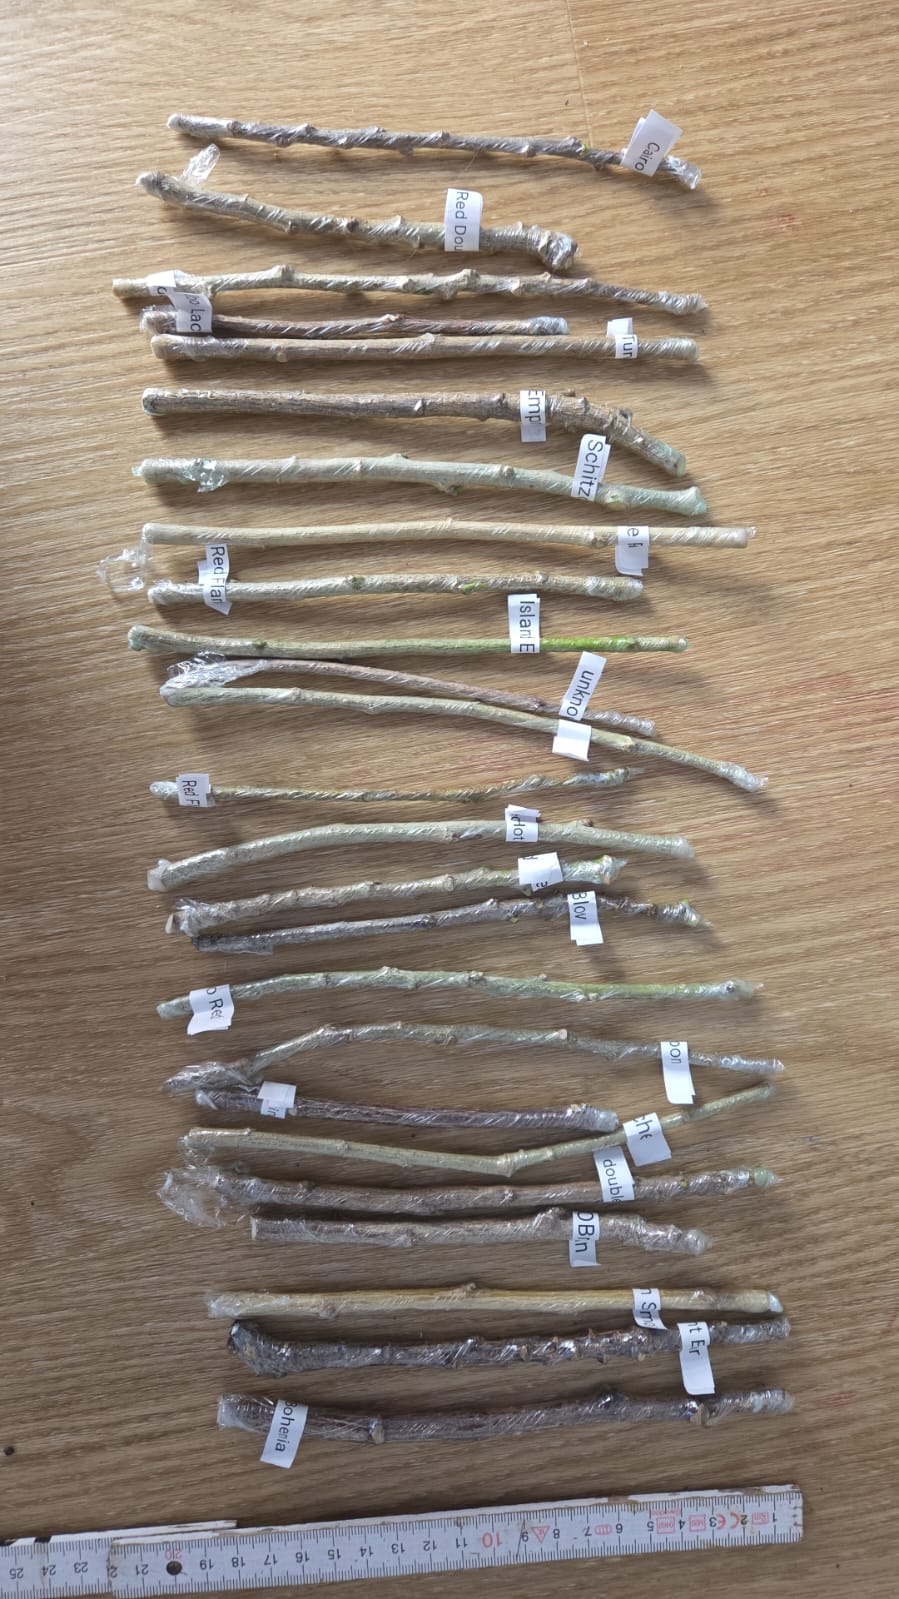
- Remove the lower 2–3 leaves
- Keep only the top 2 leaves — and cut those in half if they are large
- This reduces water loss while the cutting has no roots
- Dip the cut end in rooting hormone powder (optional but increases success rate from ~60% to ~90%)
🪴 Step 3: The right substrate
The biggest mistake: using normal potting soil. It holds too much water, the cutting rots.
Use a light, airy mix:
- 50% perlite + 50% peat or coco coir
- OR pure perlite
- OR a special seedling/propagation mix
The substrate should be moist — never wet.
📦 Step 4: Plant and cover
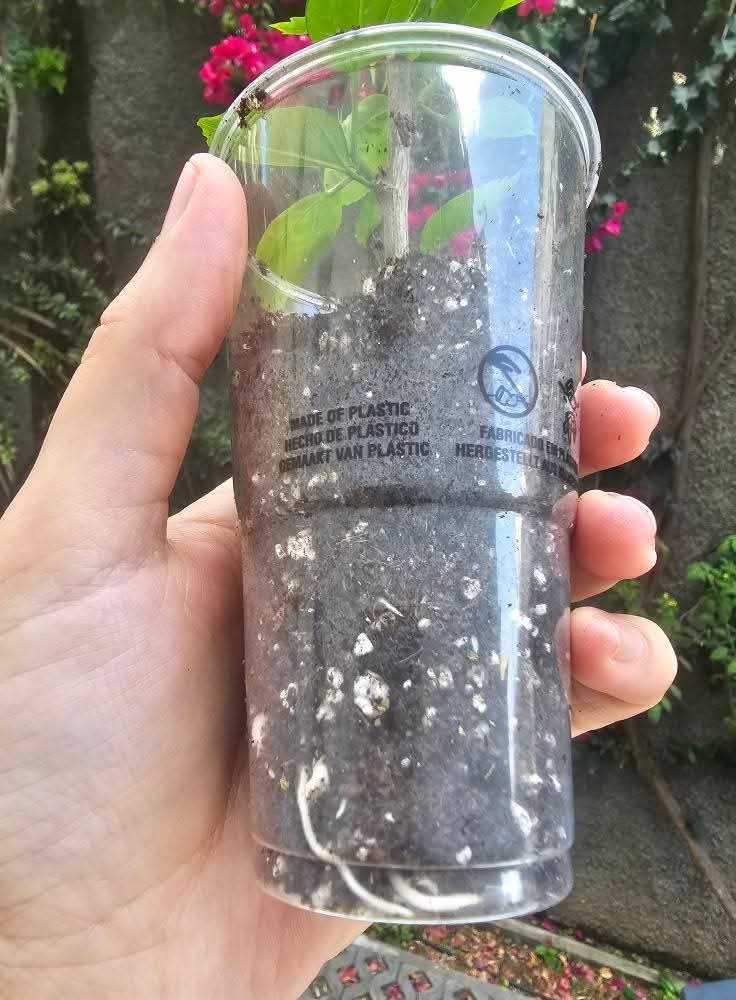
- Stick the cutting 3–4 cm deep into the substrate
- Press lightly so it stands stable
- Cover with a clear plastic bag, transparent box or mini greenhouse
- This creates 80–90% humidity — essential for rooting
☀️ Step 5: The right spot
- Bright location, but NO direct sun
- Temperature: 22–26 °C (warm soil = fast roots)
- Bottom heat from a heating mat speeds rooting by 30–50%
💧 Step 6: Care during rooting
- Open the cover briefly every 2–3 days for fresh air
- Mist the leaves if they look dry
- Keep substrate moist, never soggy
- Don't pull on the cutting to check for roots — this breaks the first fine roots
⏱️ How long does it take?
- First roots: 3–6 weeks
- Ready to transplant: 6–10 weeks
- You'll see new leaf growth — that's the sign rooting has succeeded
🪴 Step 7: Transplanting
- When new shoots are 2–3 cm long, transplant into a small pot with proper hibiscus soil
- Keep covered for another week to ease the transition
- Slowly remove the cover over 5–7 days
- Start fertilising lightly after 4 weeks
❌ Common mistakes
- Too much water → rot
- Too little humidity → cutting dries out
- Direct sun → cutting cooks
- Soil too heavy → no oxygen for roots
- Pulling on the cutting → breaks first roots
✅ Success checklist
- Semi-hardwood shoot, 10–15 cm
- Lower leaves removed, top leaves halved
- Rooting hormone
- Light, airy substrate (perlite mix)
- High humidity under cover
- Bright but no direct sun, 22–26 °C
- Patience — 6–10 weeks
With this method you can turn one beautiful hibiscus into ten. The perfect way to share your favourite variety with friends 🌺