Hi, friends 👋😍
In Part 1 of our hibiscus root care series we covered the 5 main causes of root problems. Now we're diving into the rescue mission: what to do when hibiscus roots have already rotted and the plant is sick. 😬
About the photos:
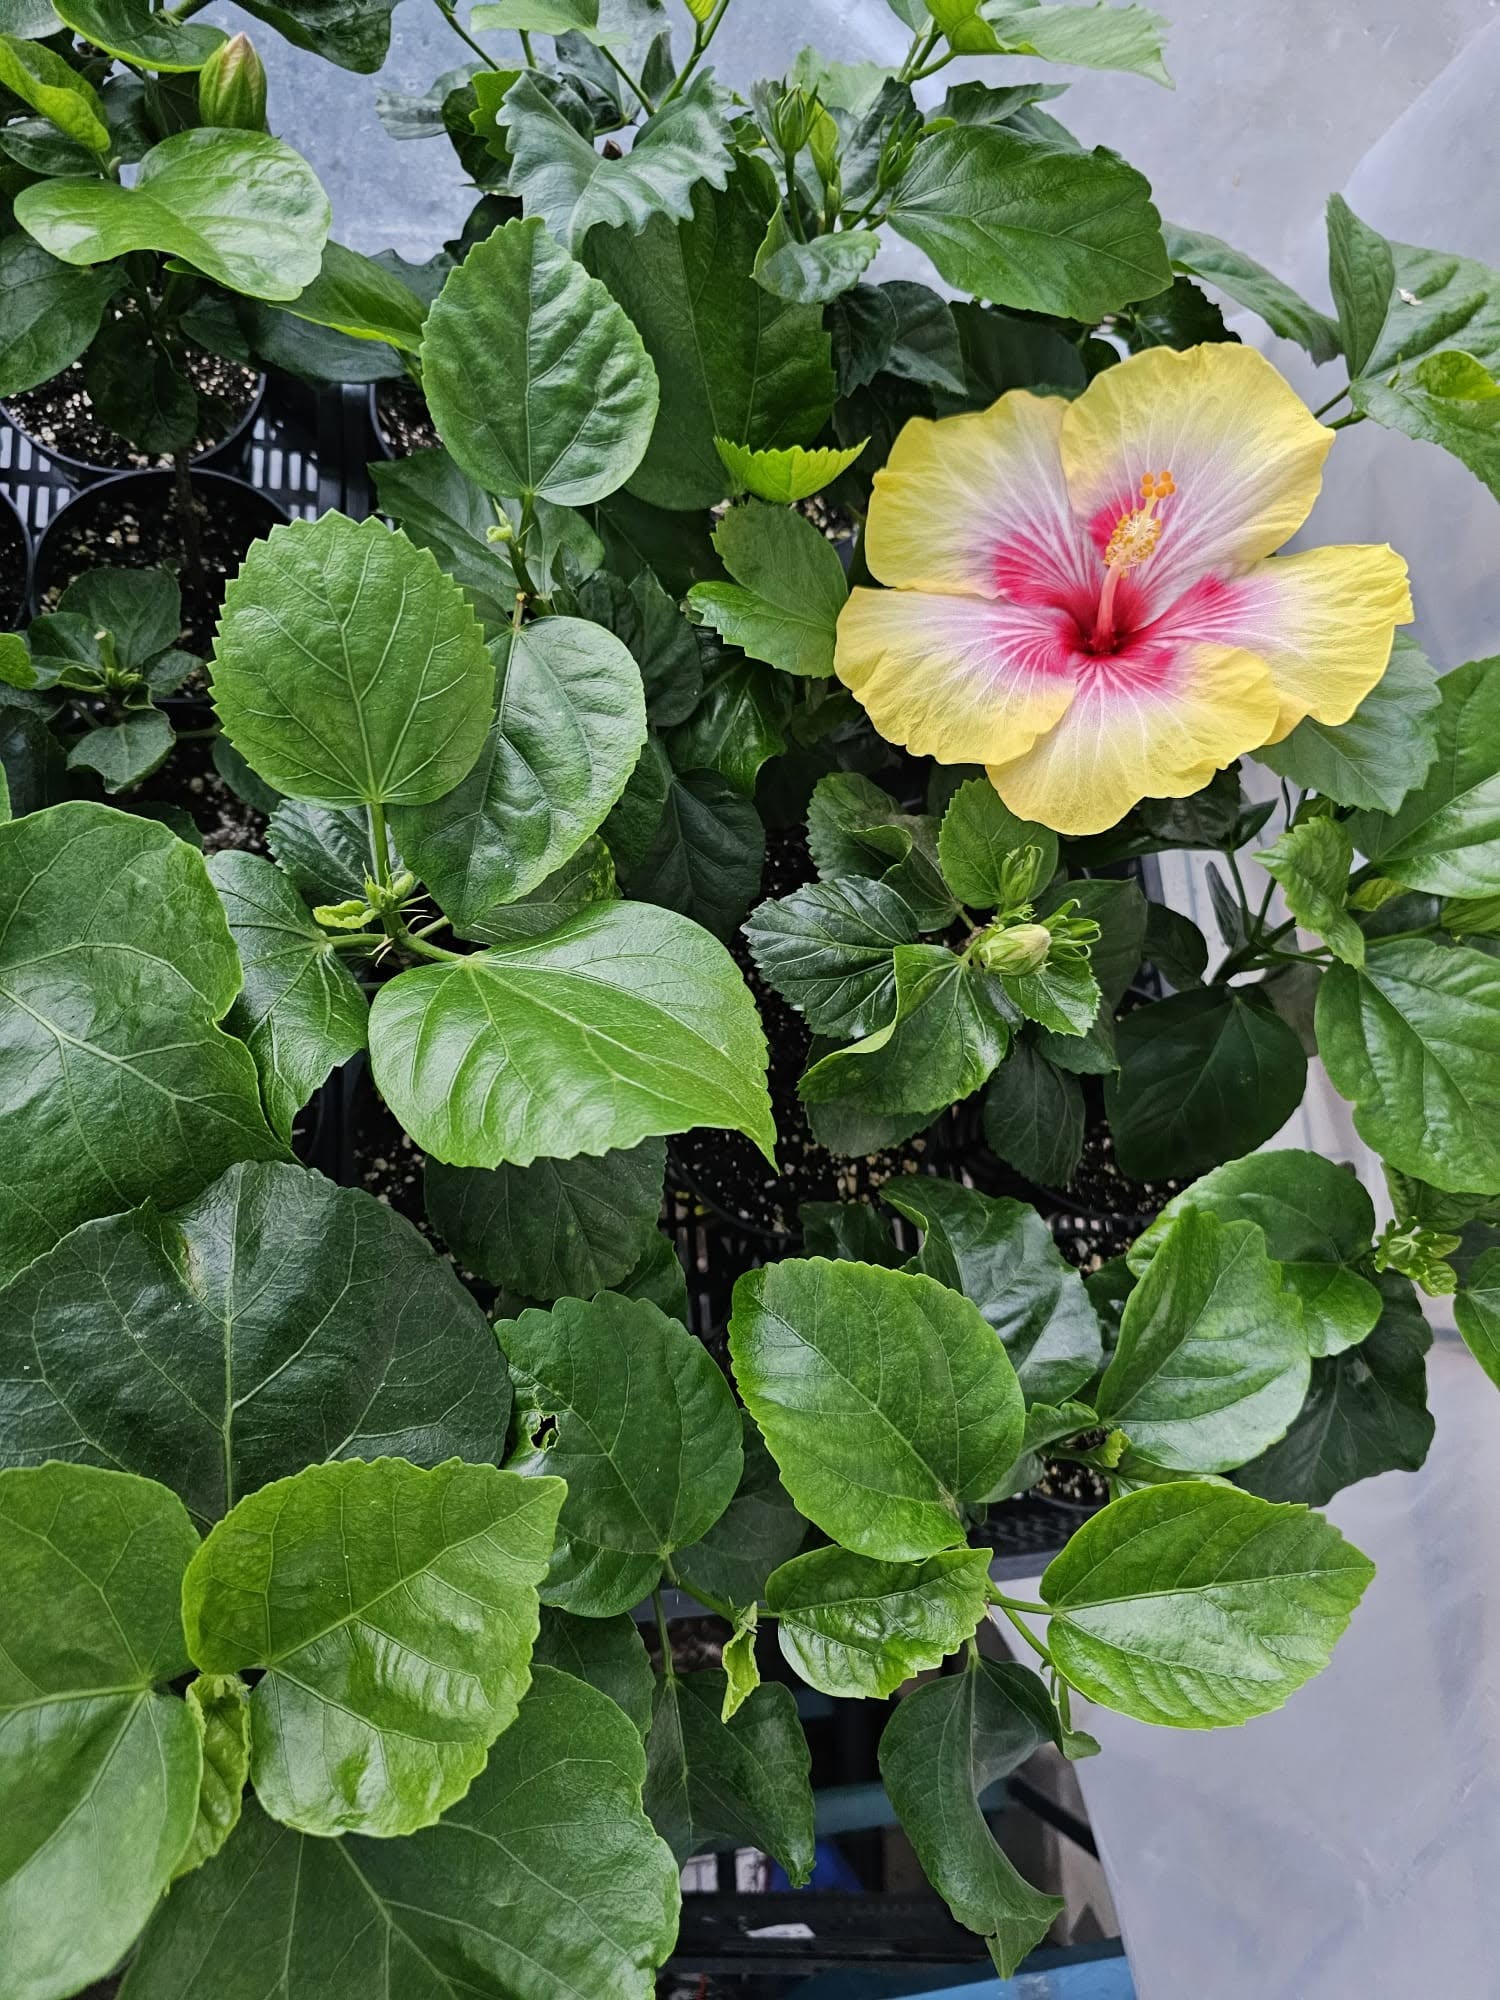
- Young growing plants with healthy roots (leaves should be bright green and firm).
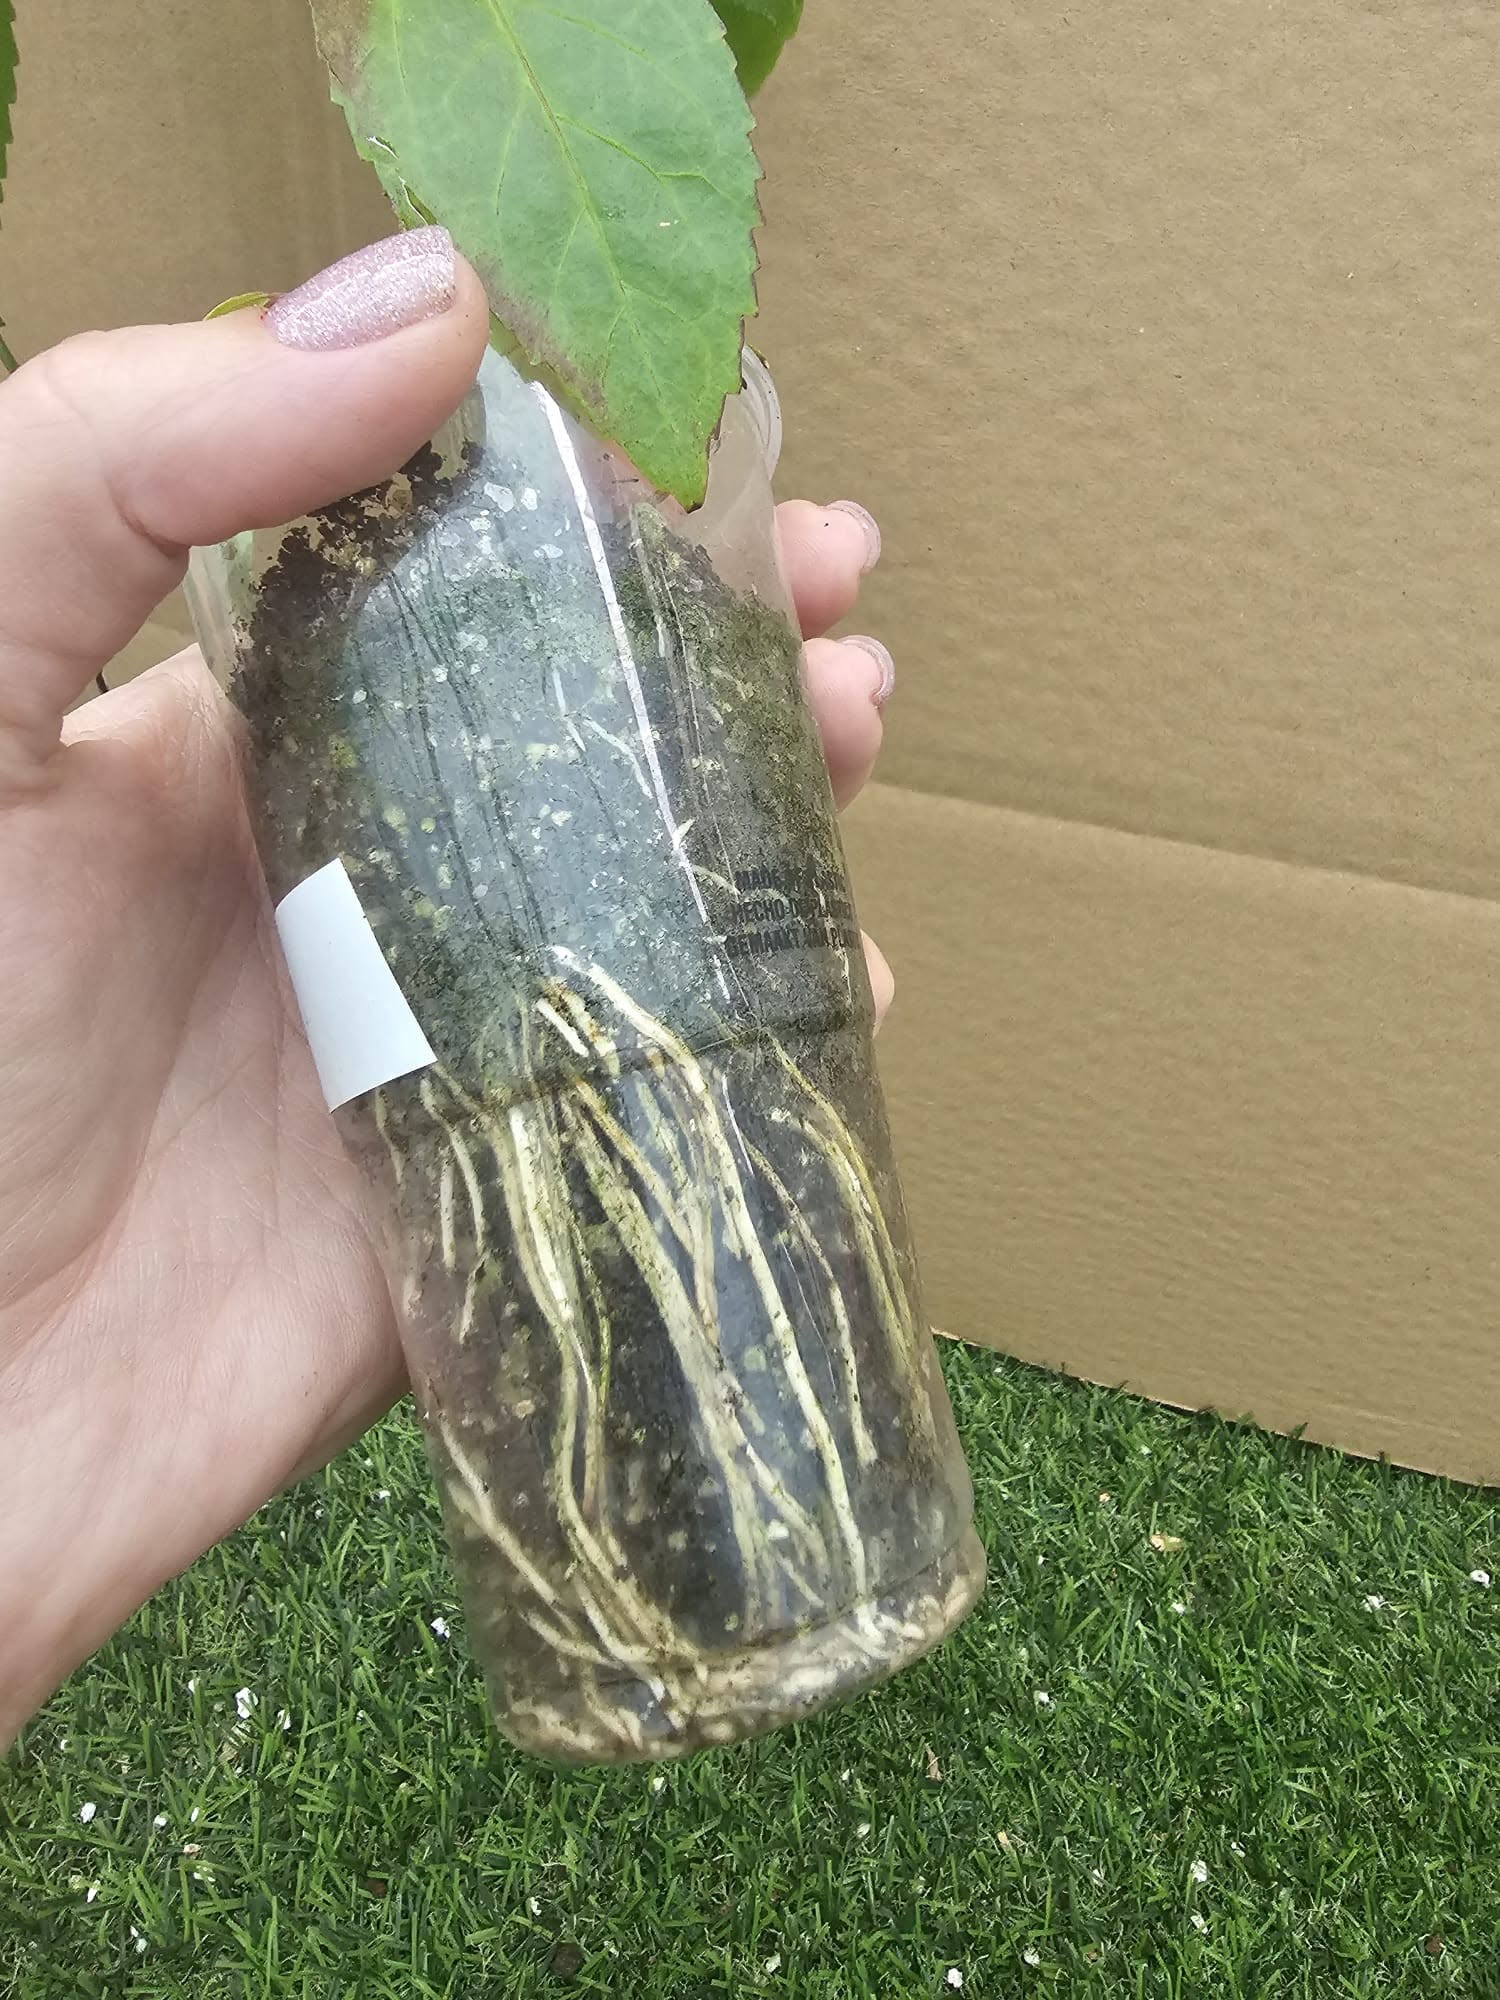
- Healthy young roots, just starting to grow — they provide solid growth for the plant.
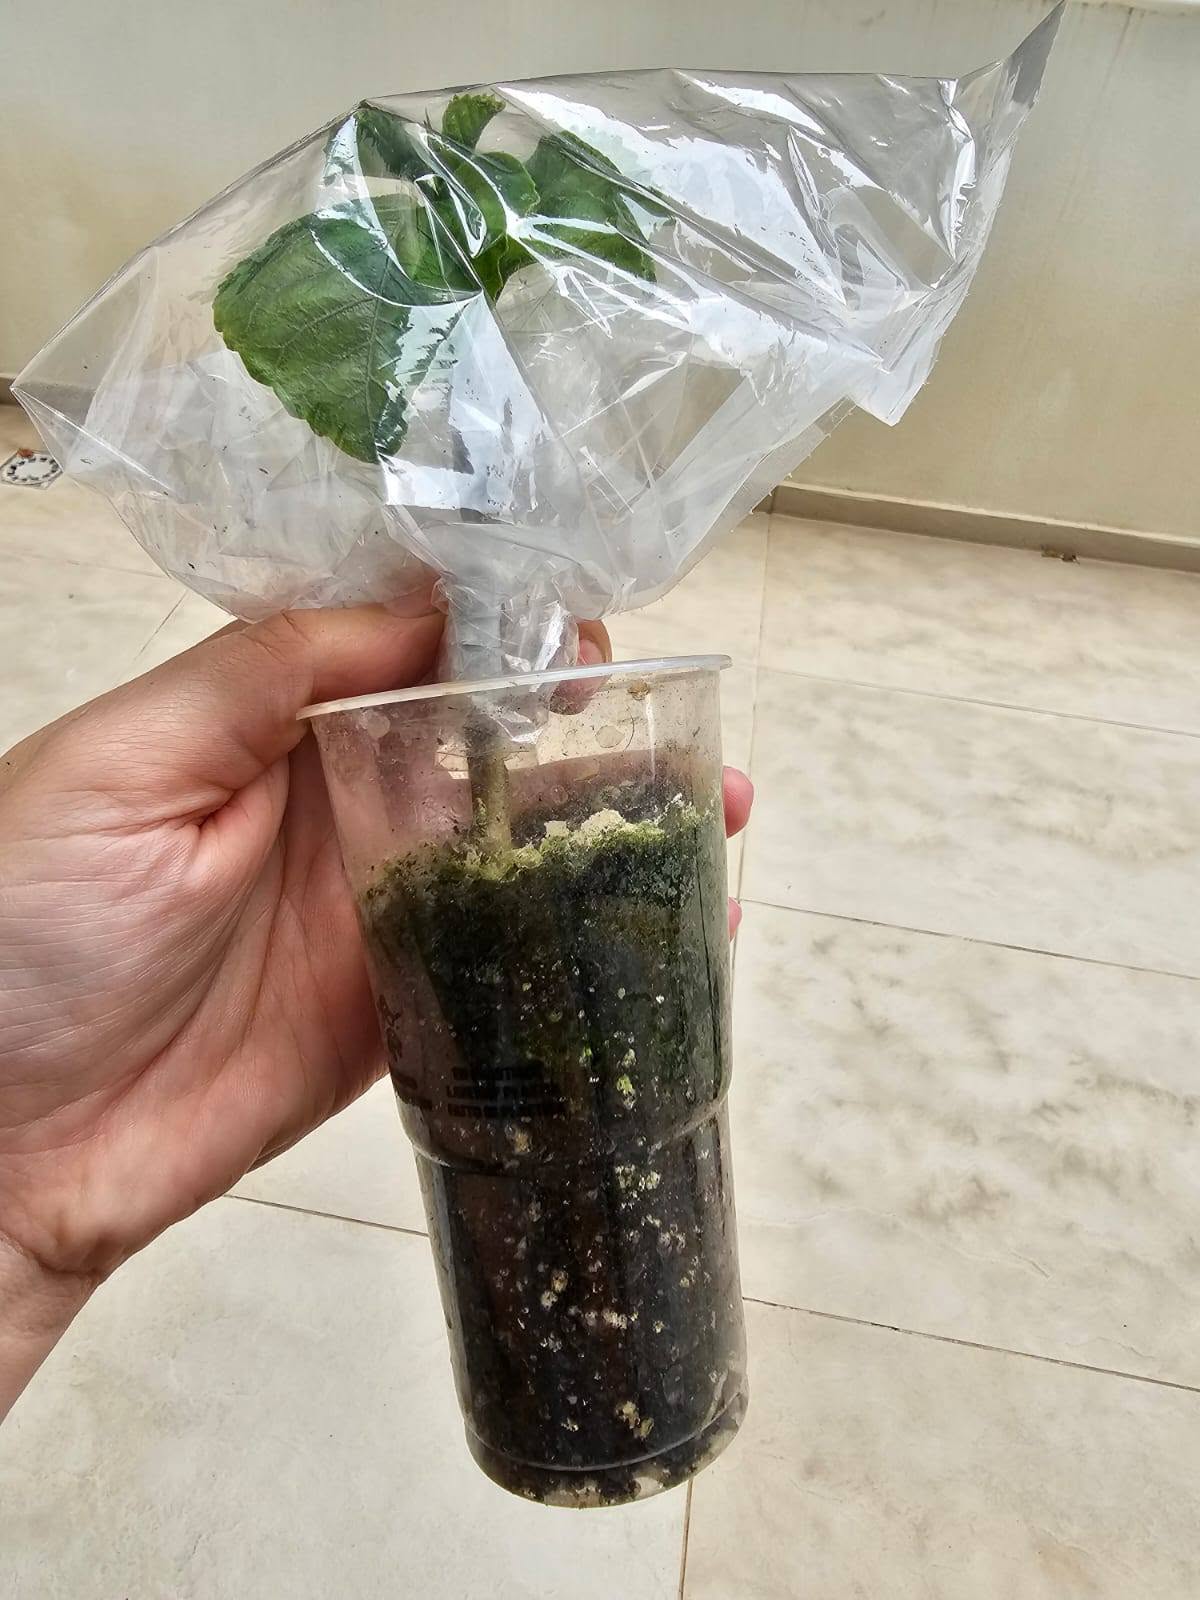
- Overwatered roots that can no longer be seen. The young plant is weak but still alive — time to use a root stimulator and cover the plant with a plastic bag to keep the humidity high.
We don't have a photo of fully rotten roots yet — as soon as we do, we'll add it here. 🥸
If your hibiscus isn't responding to simple light and watering adjustments, it's time to start resuscitation! Follow these steps to save your plant.
STEP 1: INSPECT THE ROOTS 🔍
- Carefully remove the plant without damaging the root ball.
- Check the roots:
- Soft, brown, or black = rot.
- Hard, light-coloured (white, light yellow) = life.
Healthy roots should be firm and white or light tan. Rotted roots will be dark brown or black, mushy, and may have a foul odour.
STEP 2: TRIM THE ROTTEN ROOTS ✂️
Remove rotted areas — carefully trim only the soft, dark, mushy roots with a sharp, sterile instrument or pruning shears, back to healthy, firm tissue.
Disinfect your tools after each cut to prevent spreading the infection.
Only remove dying roots if they are really soft and dark and are causing the rest to rot. If roots are dark but still strong, leave them — don't cut. Your task is to help the plant grow new healthy roots!
STEP 3: TREAT THE REMAINING ROOTS (optional but recommended) 🦠
Dip or spray the healthy roots with a fungicide solution or a natural alternative like diluted hydrogen peroxide or cinnamon powder to eliminate lingering pathogens.
STEP 4: TREAT WITH GROWTH STIMULANTS 🌱
- Apply powdered growth stimulants (phytohormones, humic acids, amino acids, polysaccharides) to the remaining roots to activate cell division and root development.
- Use products with auxins (e.g. indole-3-butyric acid) to boost root growth.
STEP 5: REPOT IN A CLEAN, SMALLER POT 📦
- Choose a pot the same size or smaller to prevent root damage, overwatering, and to stimulate root growth.
- Use a loose, breathable substrate (peat + perlite, or a quality light seedling substrate). The chance of further rot in such substrates is minimised.
FURTHER CARE 🧺
- Humidity boost
- Place a plastic bag over the green part of the plant (mini greenhouse) to reduce evaporation and keep the leaves strong.
- Lighting
- Bright, indirect sunlight, or bright light directly under a lamp + warmth (no direct sun in summer).
- In winter, use artificial lighting (many options exist — we'll discuss them in future posts).
- Hibiscus hybrids need additional lighting to survive European winters!
- Spray & water
- Mist the foliage with warm water once every 2–3 days (remove the bag for 5 minutes).
- Water carefully — only when the pot feels light and the soil is slightly dry, and only a little, so the roots don't get wet again!
This is the most effective and important secret, assuming all other conditions are met.
- THE SECRET WEAPON 💡
For accelerated root growth in these situations, and on young plants, we use the most effective rooting agent we've tried: RADIFARM from VALAGRO. (This is not an advert; we don't know if it's sold in small retail quantities.)
This wonderful, magical root-restoration aid promotes new, strong roots in just 2–3 weeks. It also builds new, strong root mass when used three times — every week or every 10 days.
If you don't have this product available, use any other liquid root stimulator sold in your country. Check the label for: a complex of polysaccharides, amino acids, betaine, vitamins and microelements that improves the development of lateral roots, restores the root system after damage, improves adaptation and relieves stress.
Root restoration is a long process. You won't see noticeable results in 1–2 weeks. After 3–4 weeks, the appearance of new, strong, white roots will show you're on the right track.
Full root restoration can take up to 3 months, depending on the use of root growth products, lighting, and ideal watering!
We wish you good luck 🙏 We hope these tips help you 🤩